Guardian Location Tracking
Setting up guardian location lists is a snap. This allows guardians to select their location providing you the ability to know where a guardian is, should you need them in case of an emergency.
Step 1: Turn on the Guardian Locations Setting
- Click on the System Settings icon in the upper right of your KidCheck account
- Click on the System Options area (in the sidebar on the left)
- Select Check-in Options
- Find the Guardian Location Tracking option and select Enable
- Click Save Changes
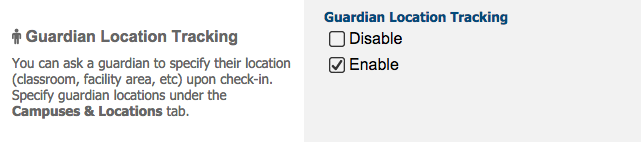
The Guardian Location Tracking setting in the System Settings area.
Step 2: Create your Guardian Locations
- Click on the System Settings icon in the upper right of your KidCheck account
- Click on the System Options area (in the sidebar on the left)
- Select Campuses & Locations
- Click on the name of your campus
- Click the +New Location/Age Group hyperlink under Page Options
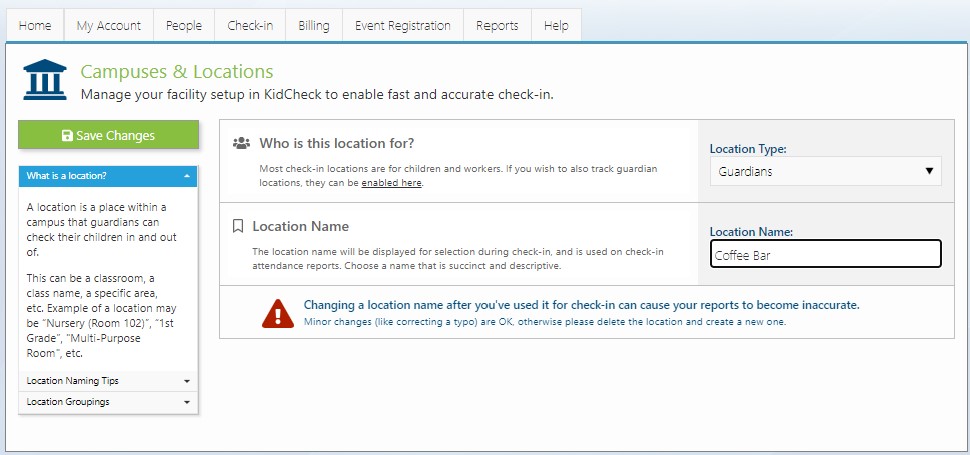
- Type in the Location Name, and change the Location Type to Guardians
- Click Save Changes
- Repeat these steps to create each of the guardian locations you’d like to use
Step 3: Add the Guardian Locations to the Appropriate Template
- Click on the Check-in tab in the top row of tabs of your KidCheck account
- Click on the grey pencil icon by the name of the appropriate template
- Select the Guardian Check-in Locations tab
- Click the arrow icon next to the guardian locations you want to add
- Click Save Changes
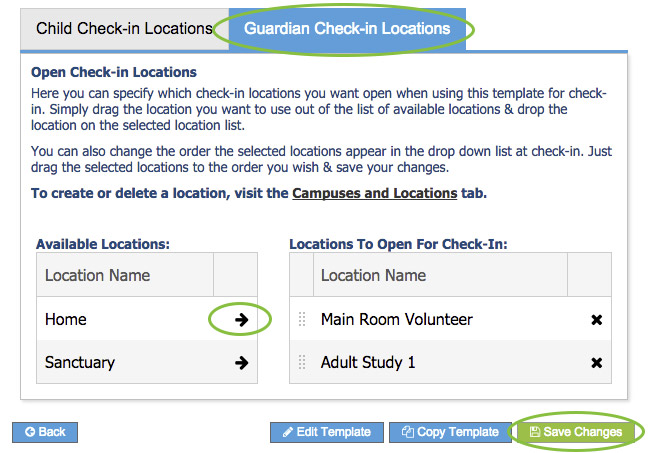
Adding guardian locations to a template
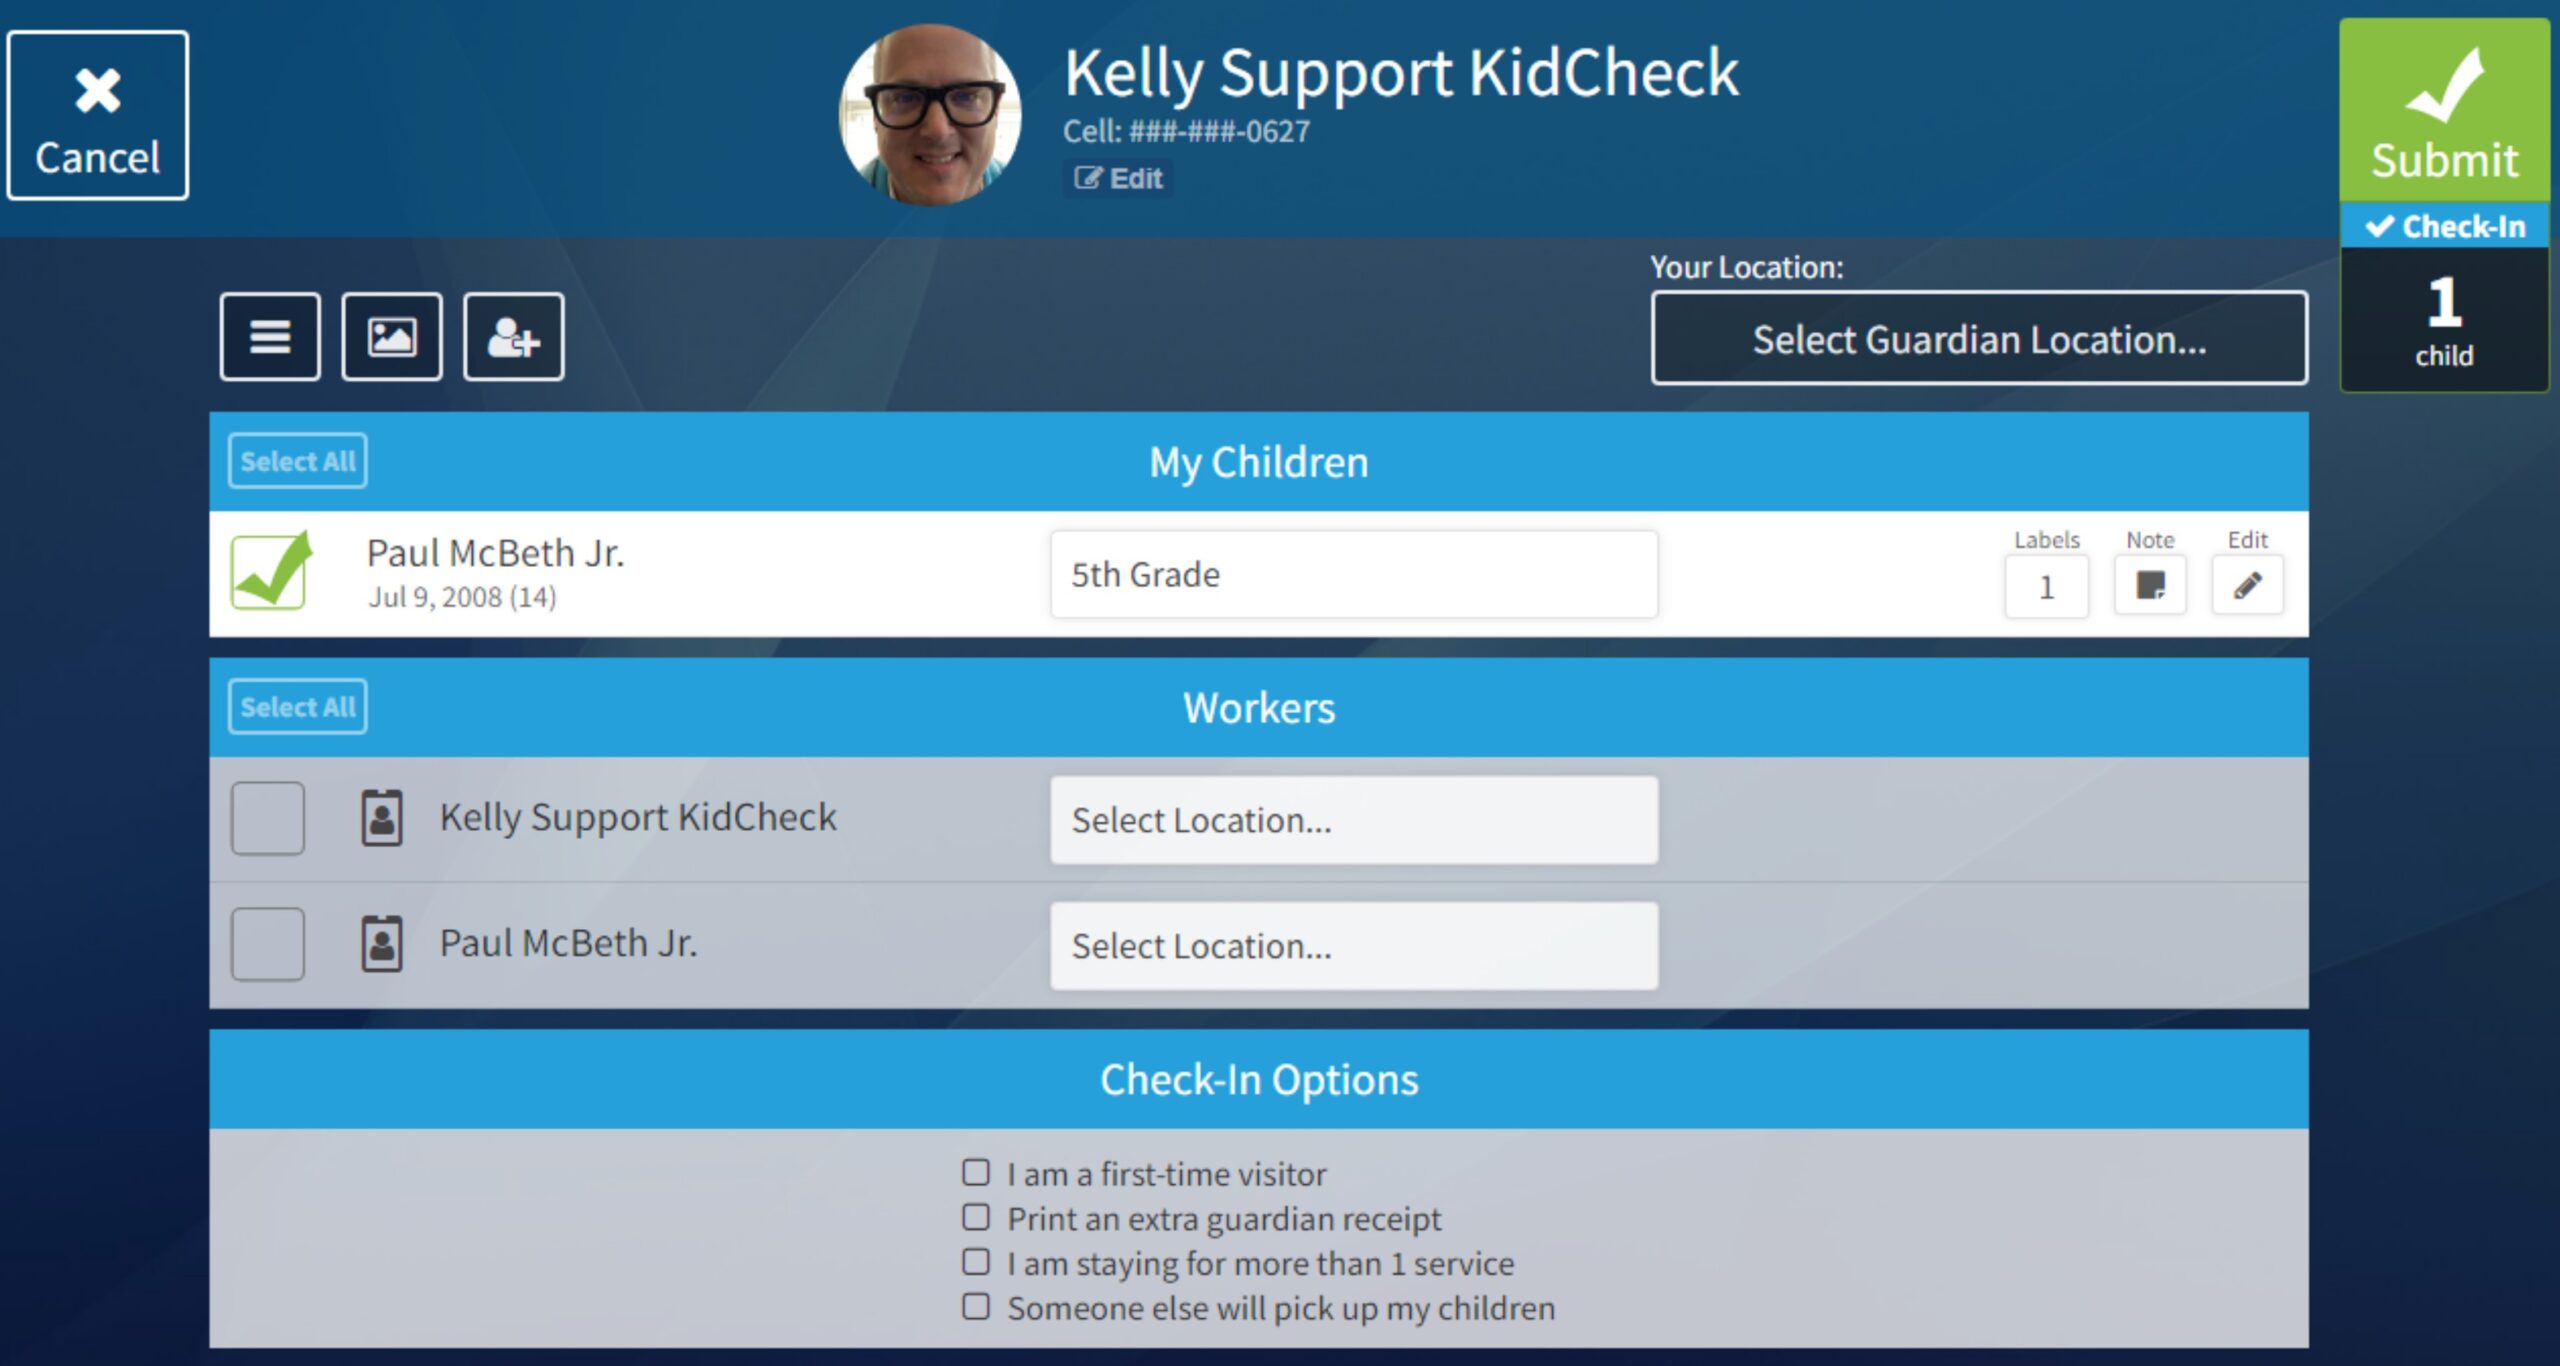
Guardians will now be prompted to select their location when checking in their children: