Creating a Roster License for Roster Check-In in the Admin Console App
You will need to install both the KidCheck Admin Console app and the KidCheck Mobile app (and ensure that you have a mobile license) to perform Roster Check-in on your mobile device.
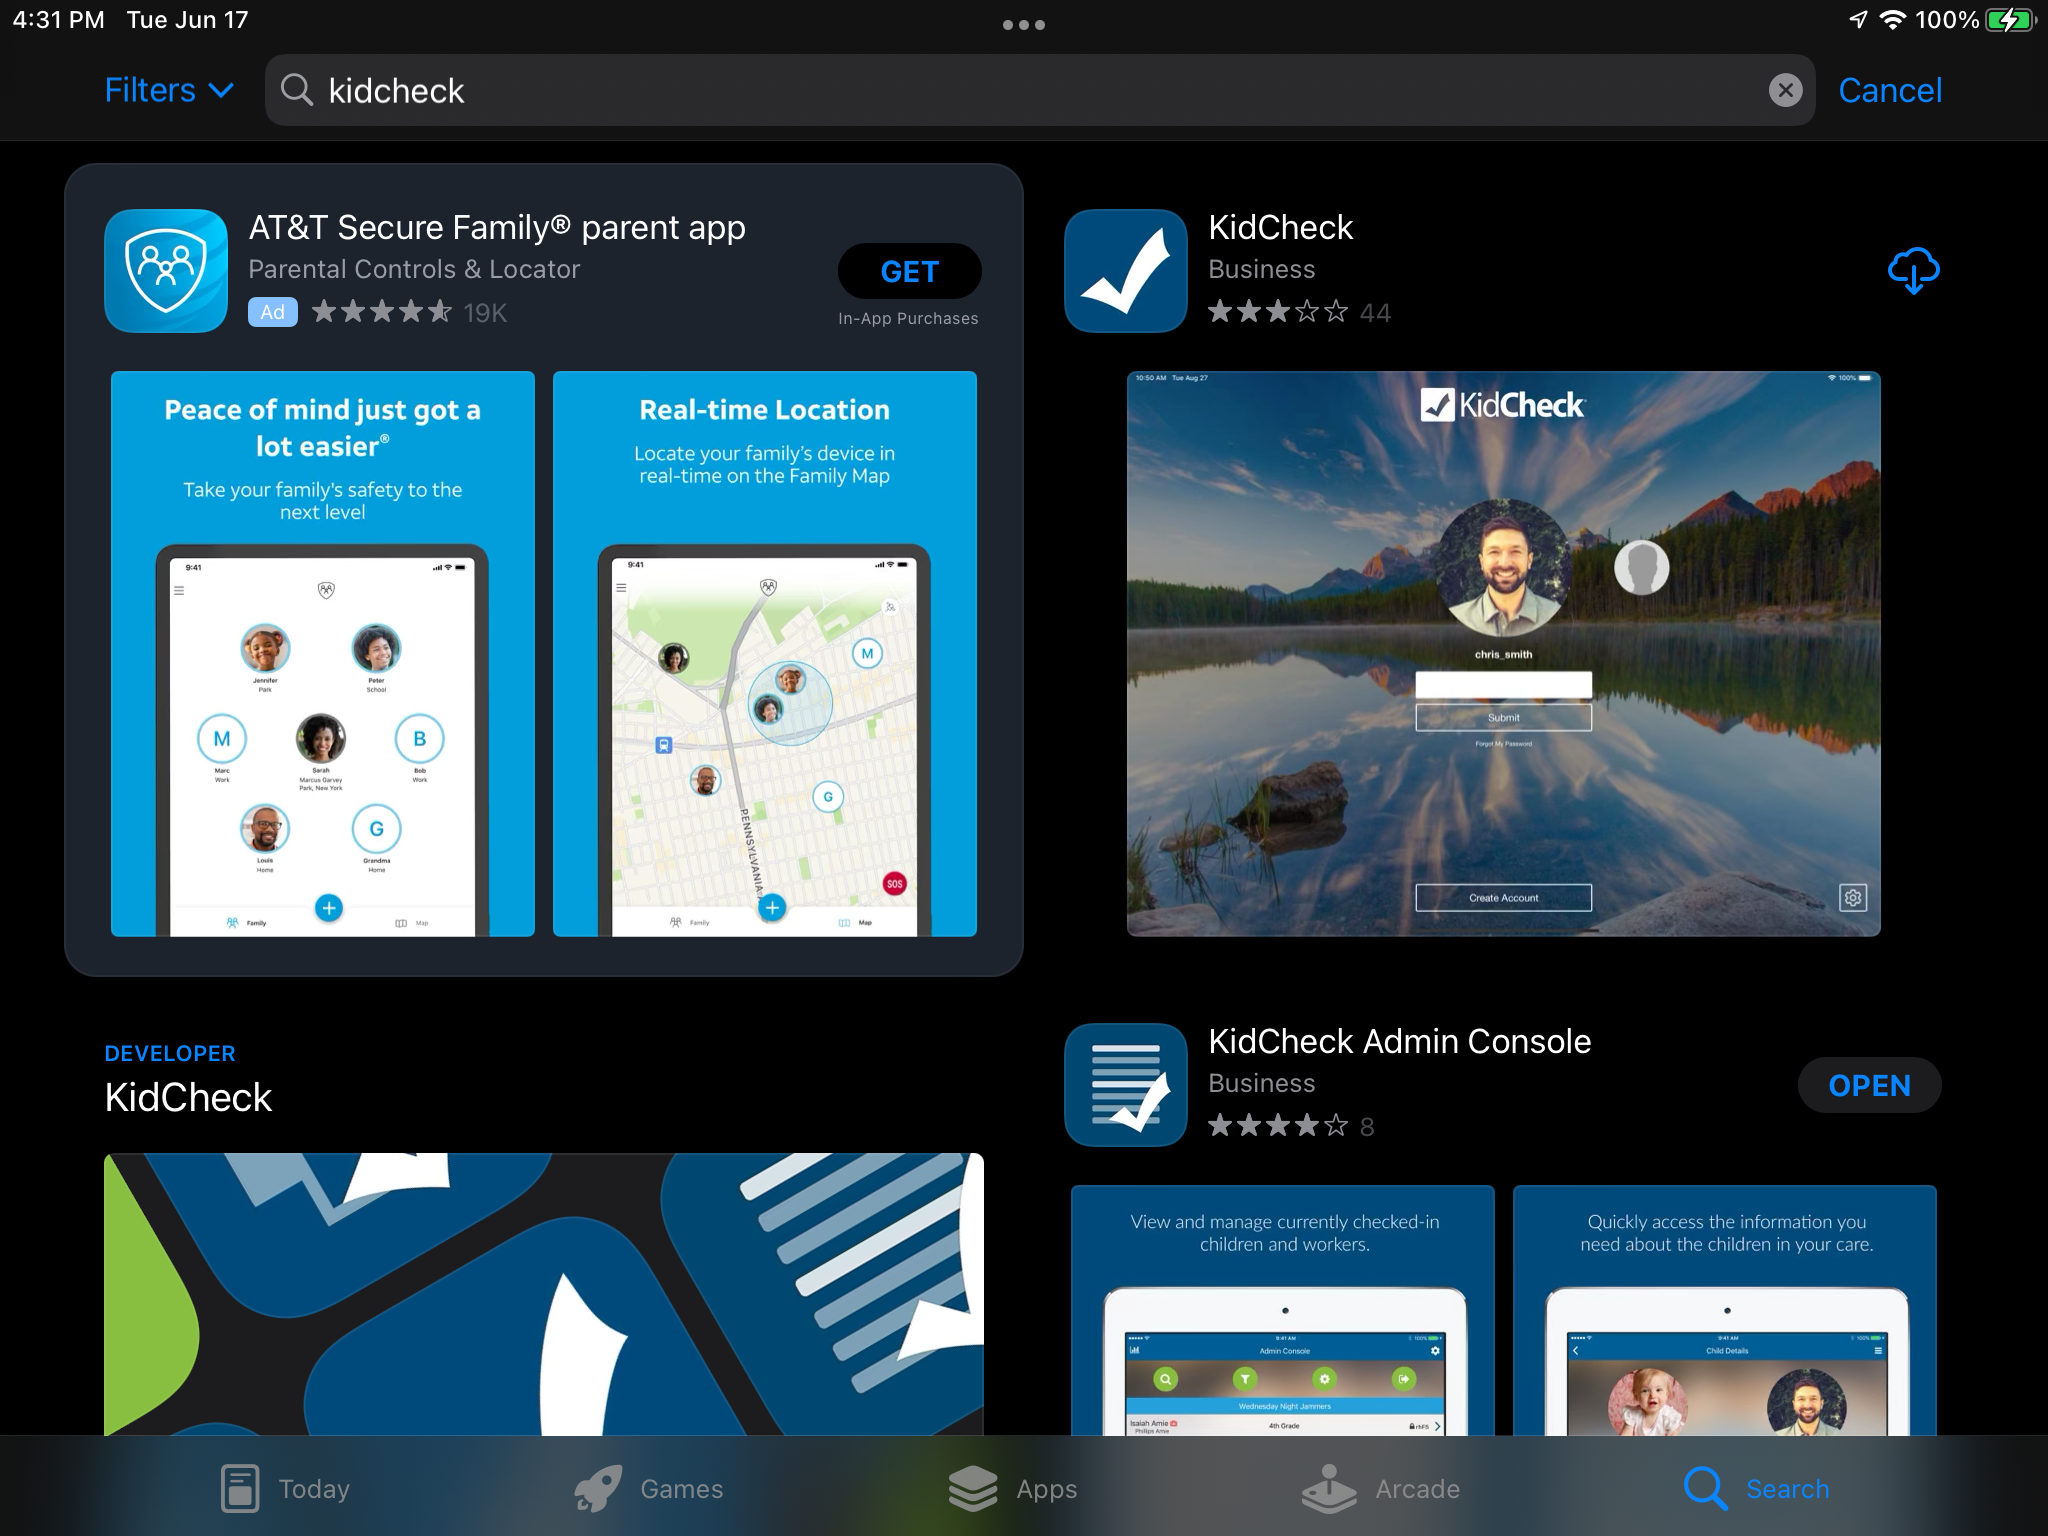
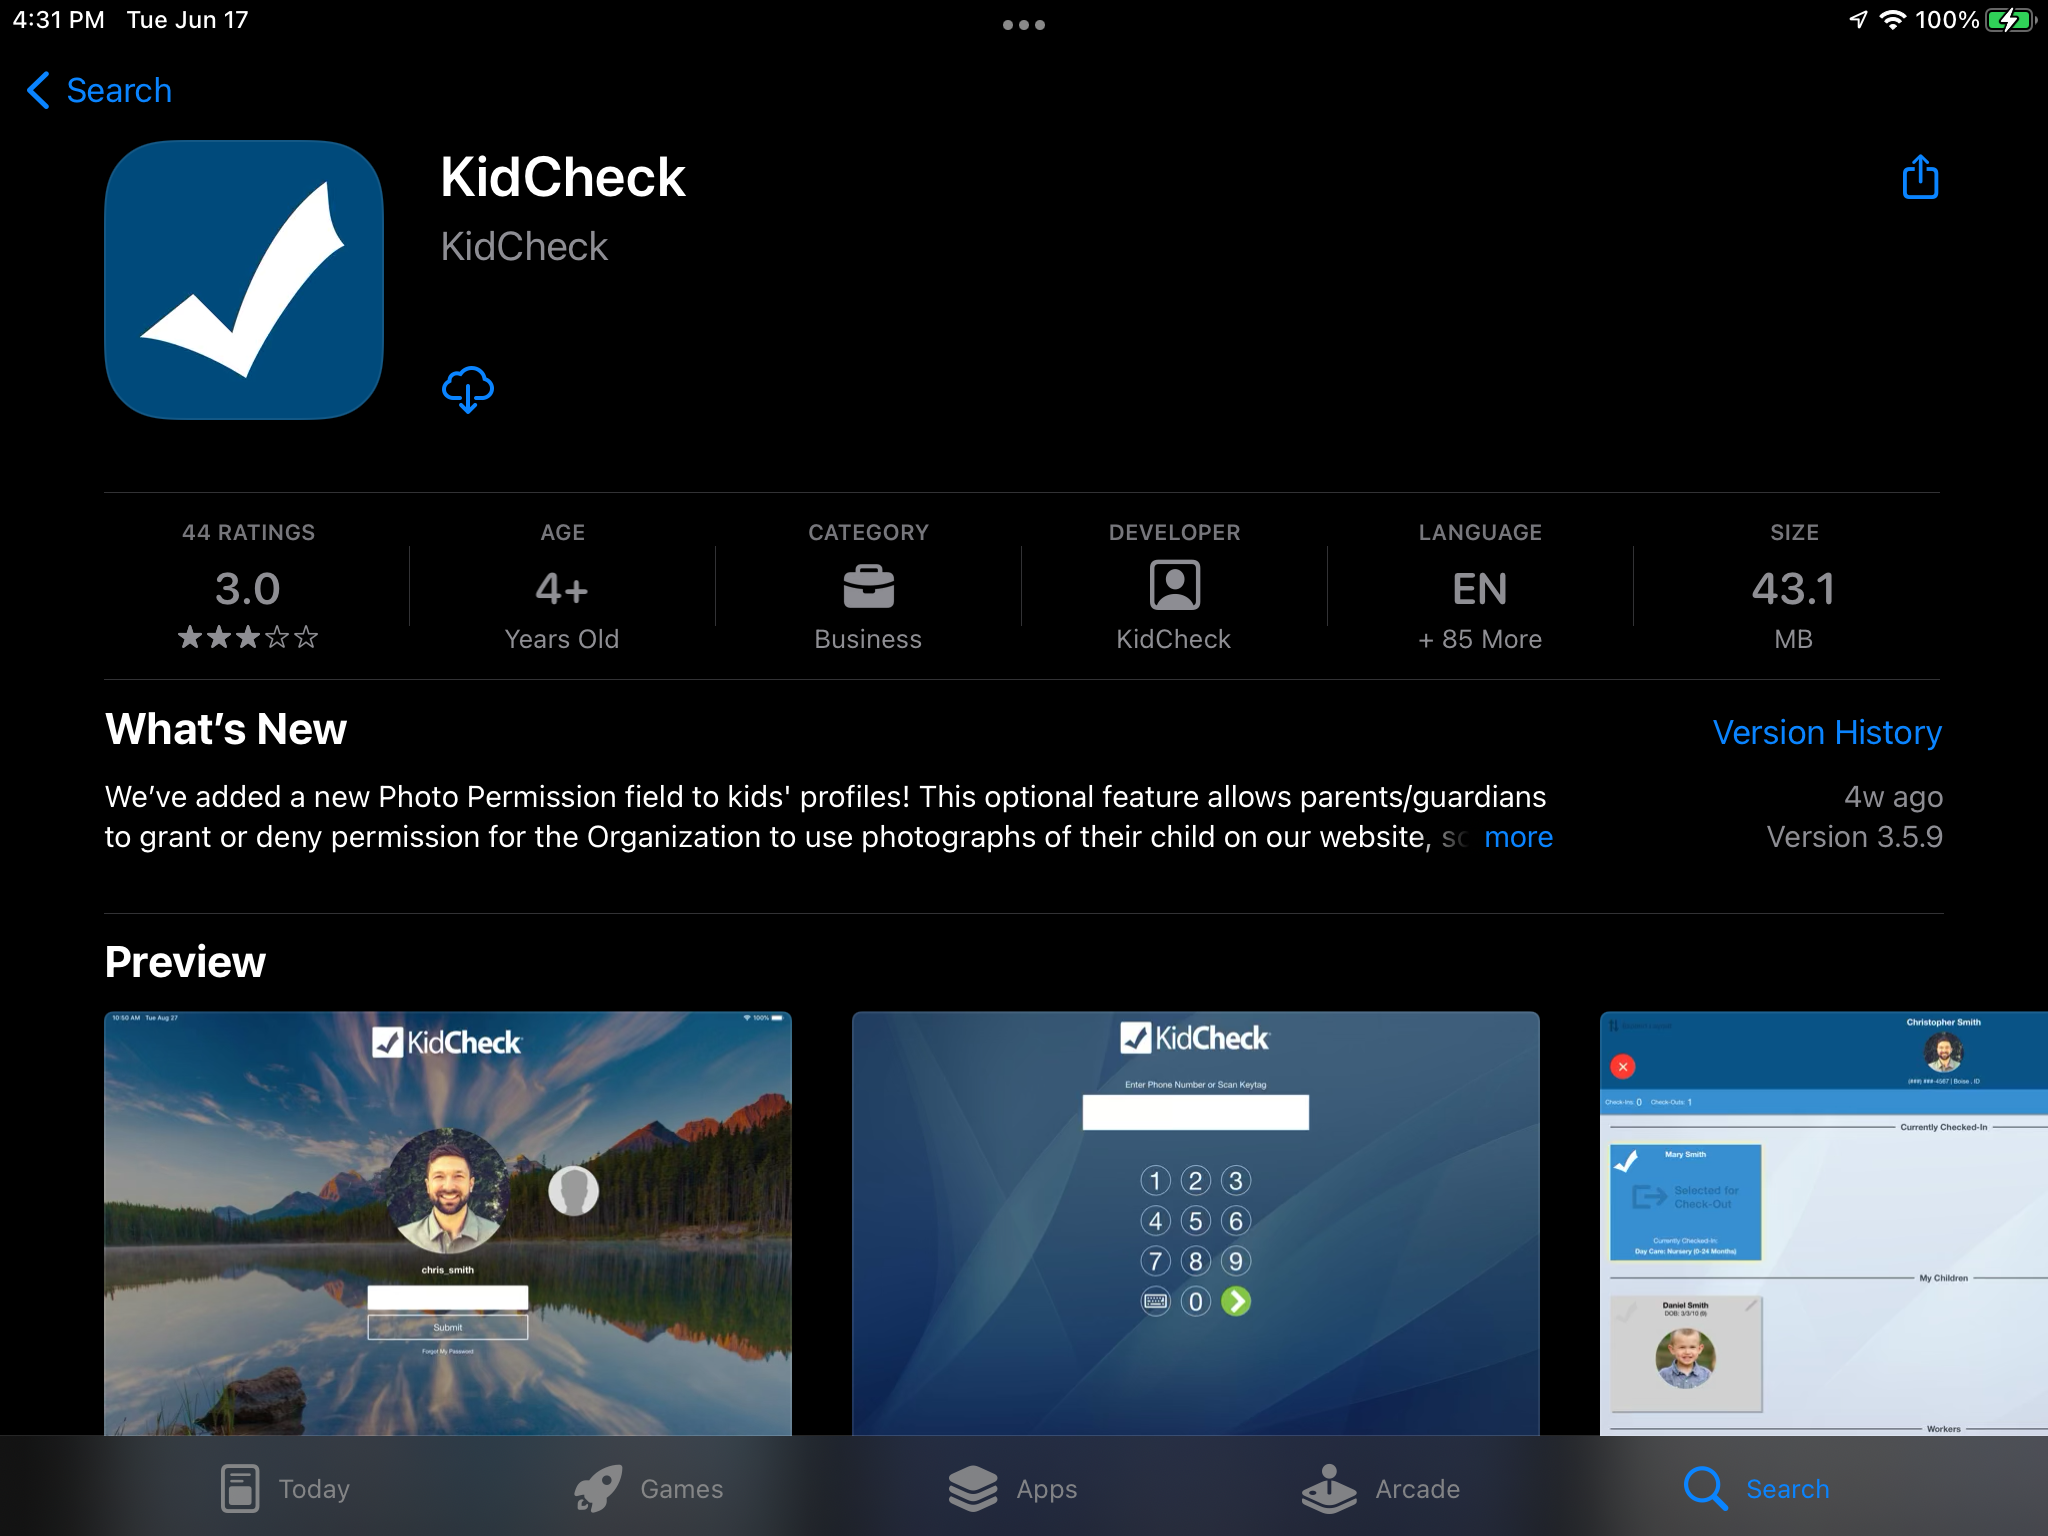
1) Search for “kidcheck” in the app store on the mobile device you plan on performing Roster Check-in on. Choose the KidCheck mobile app and install it.
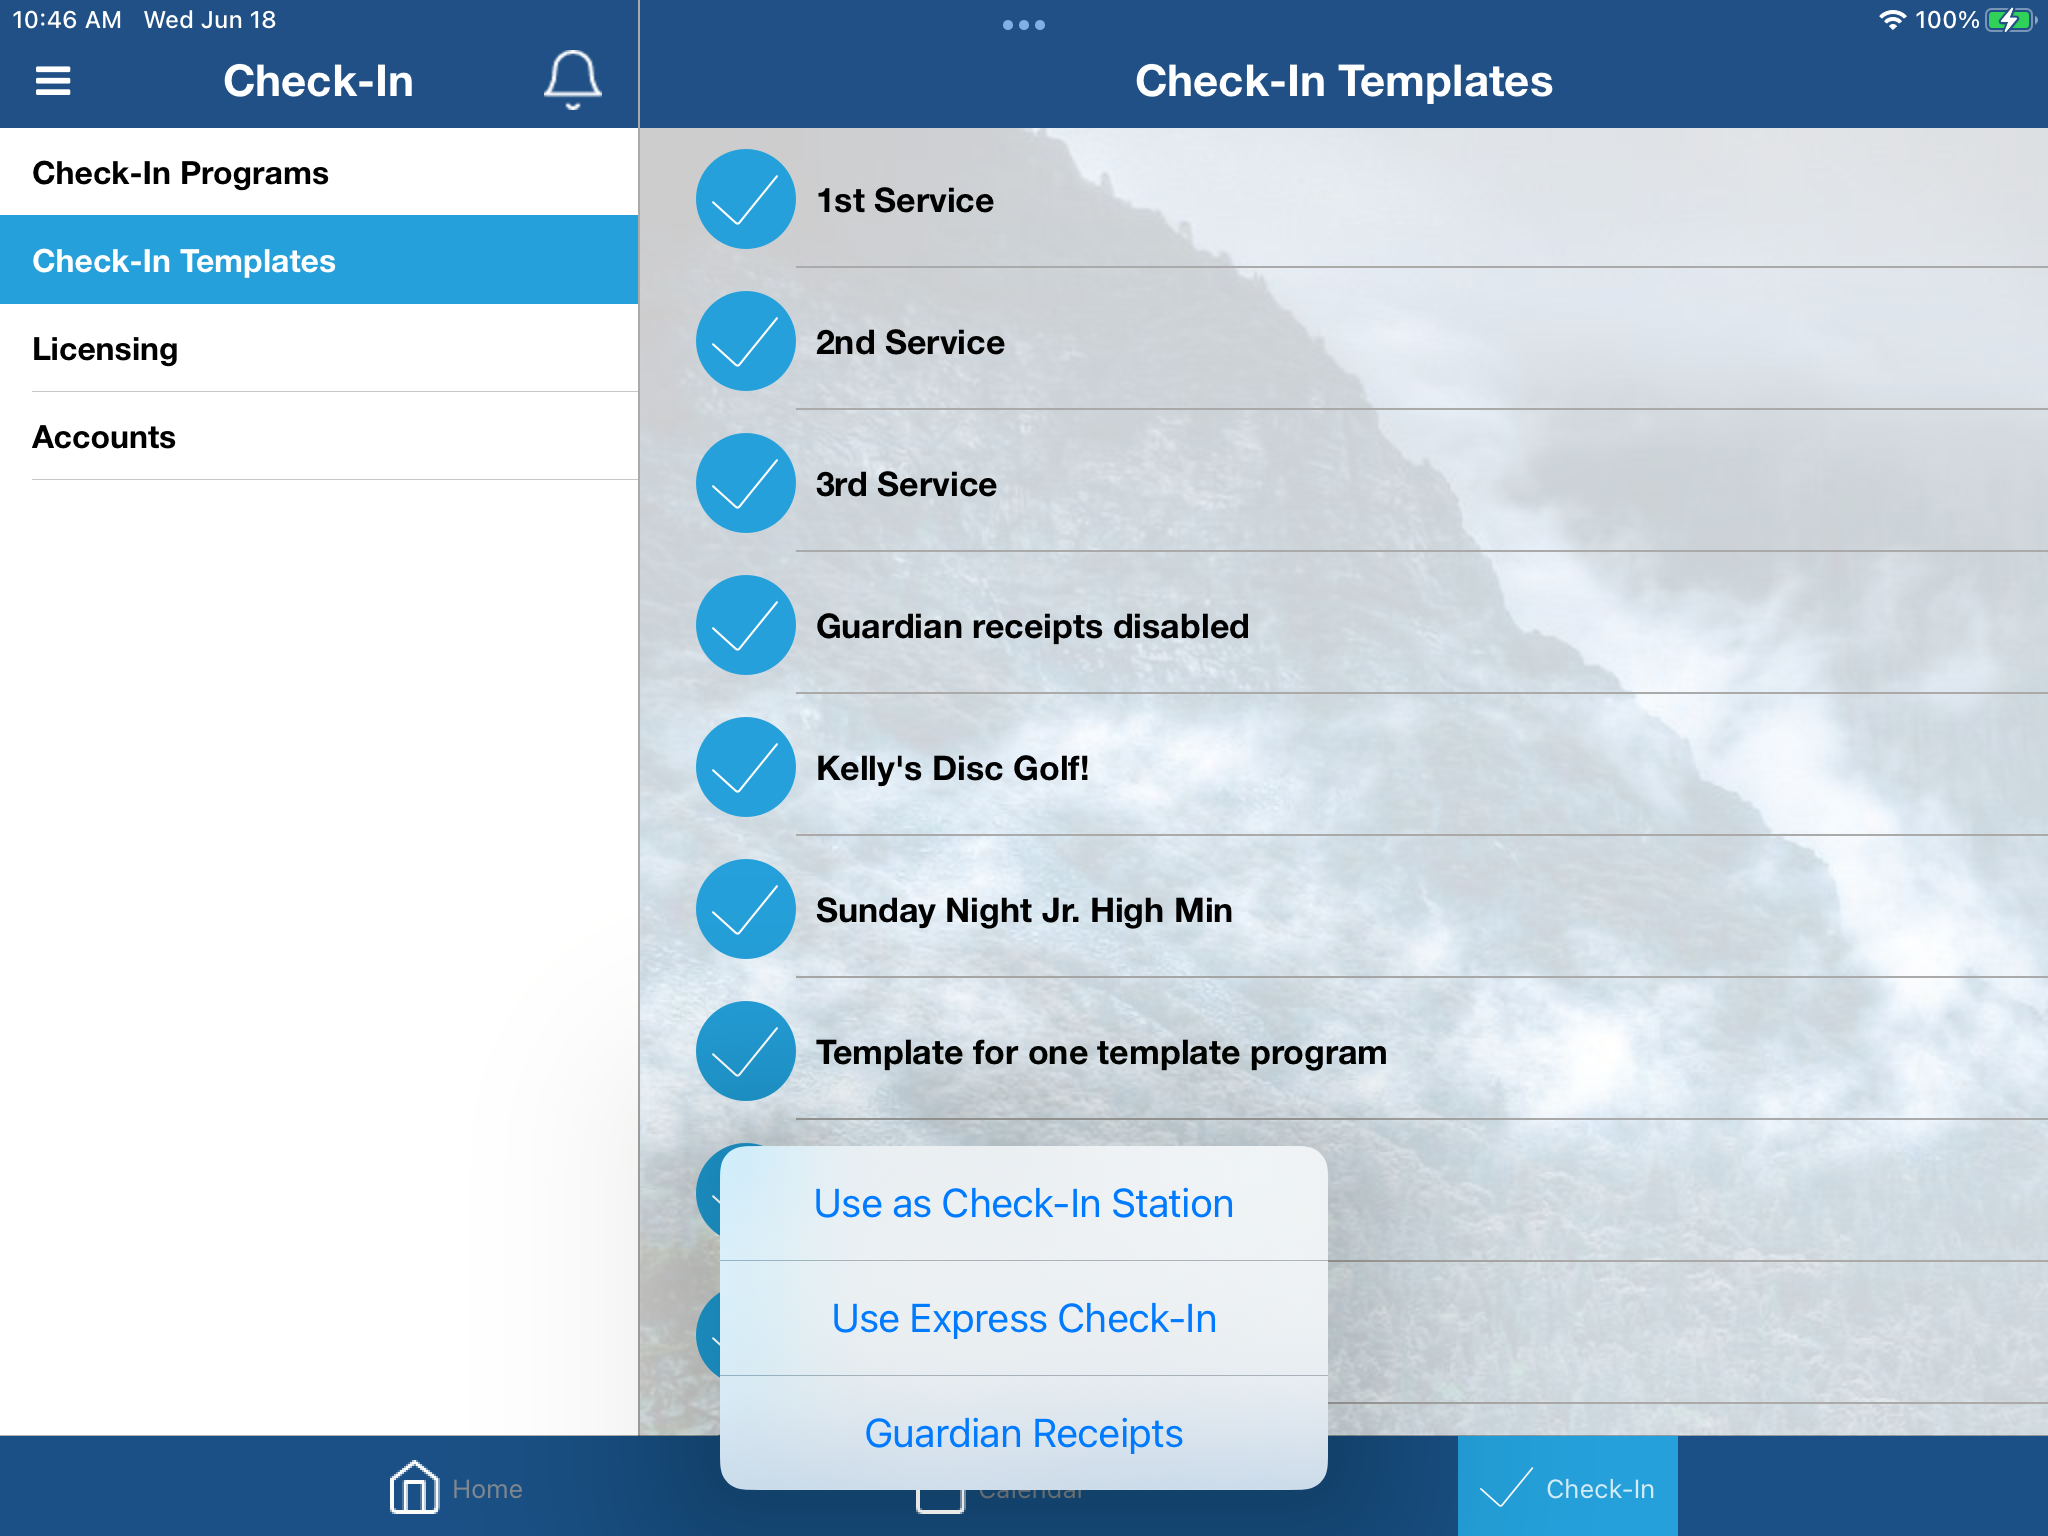
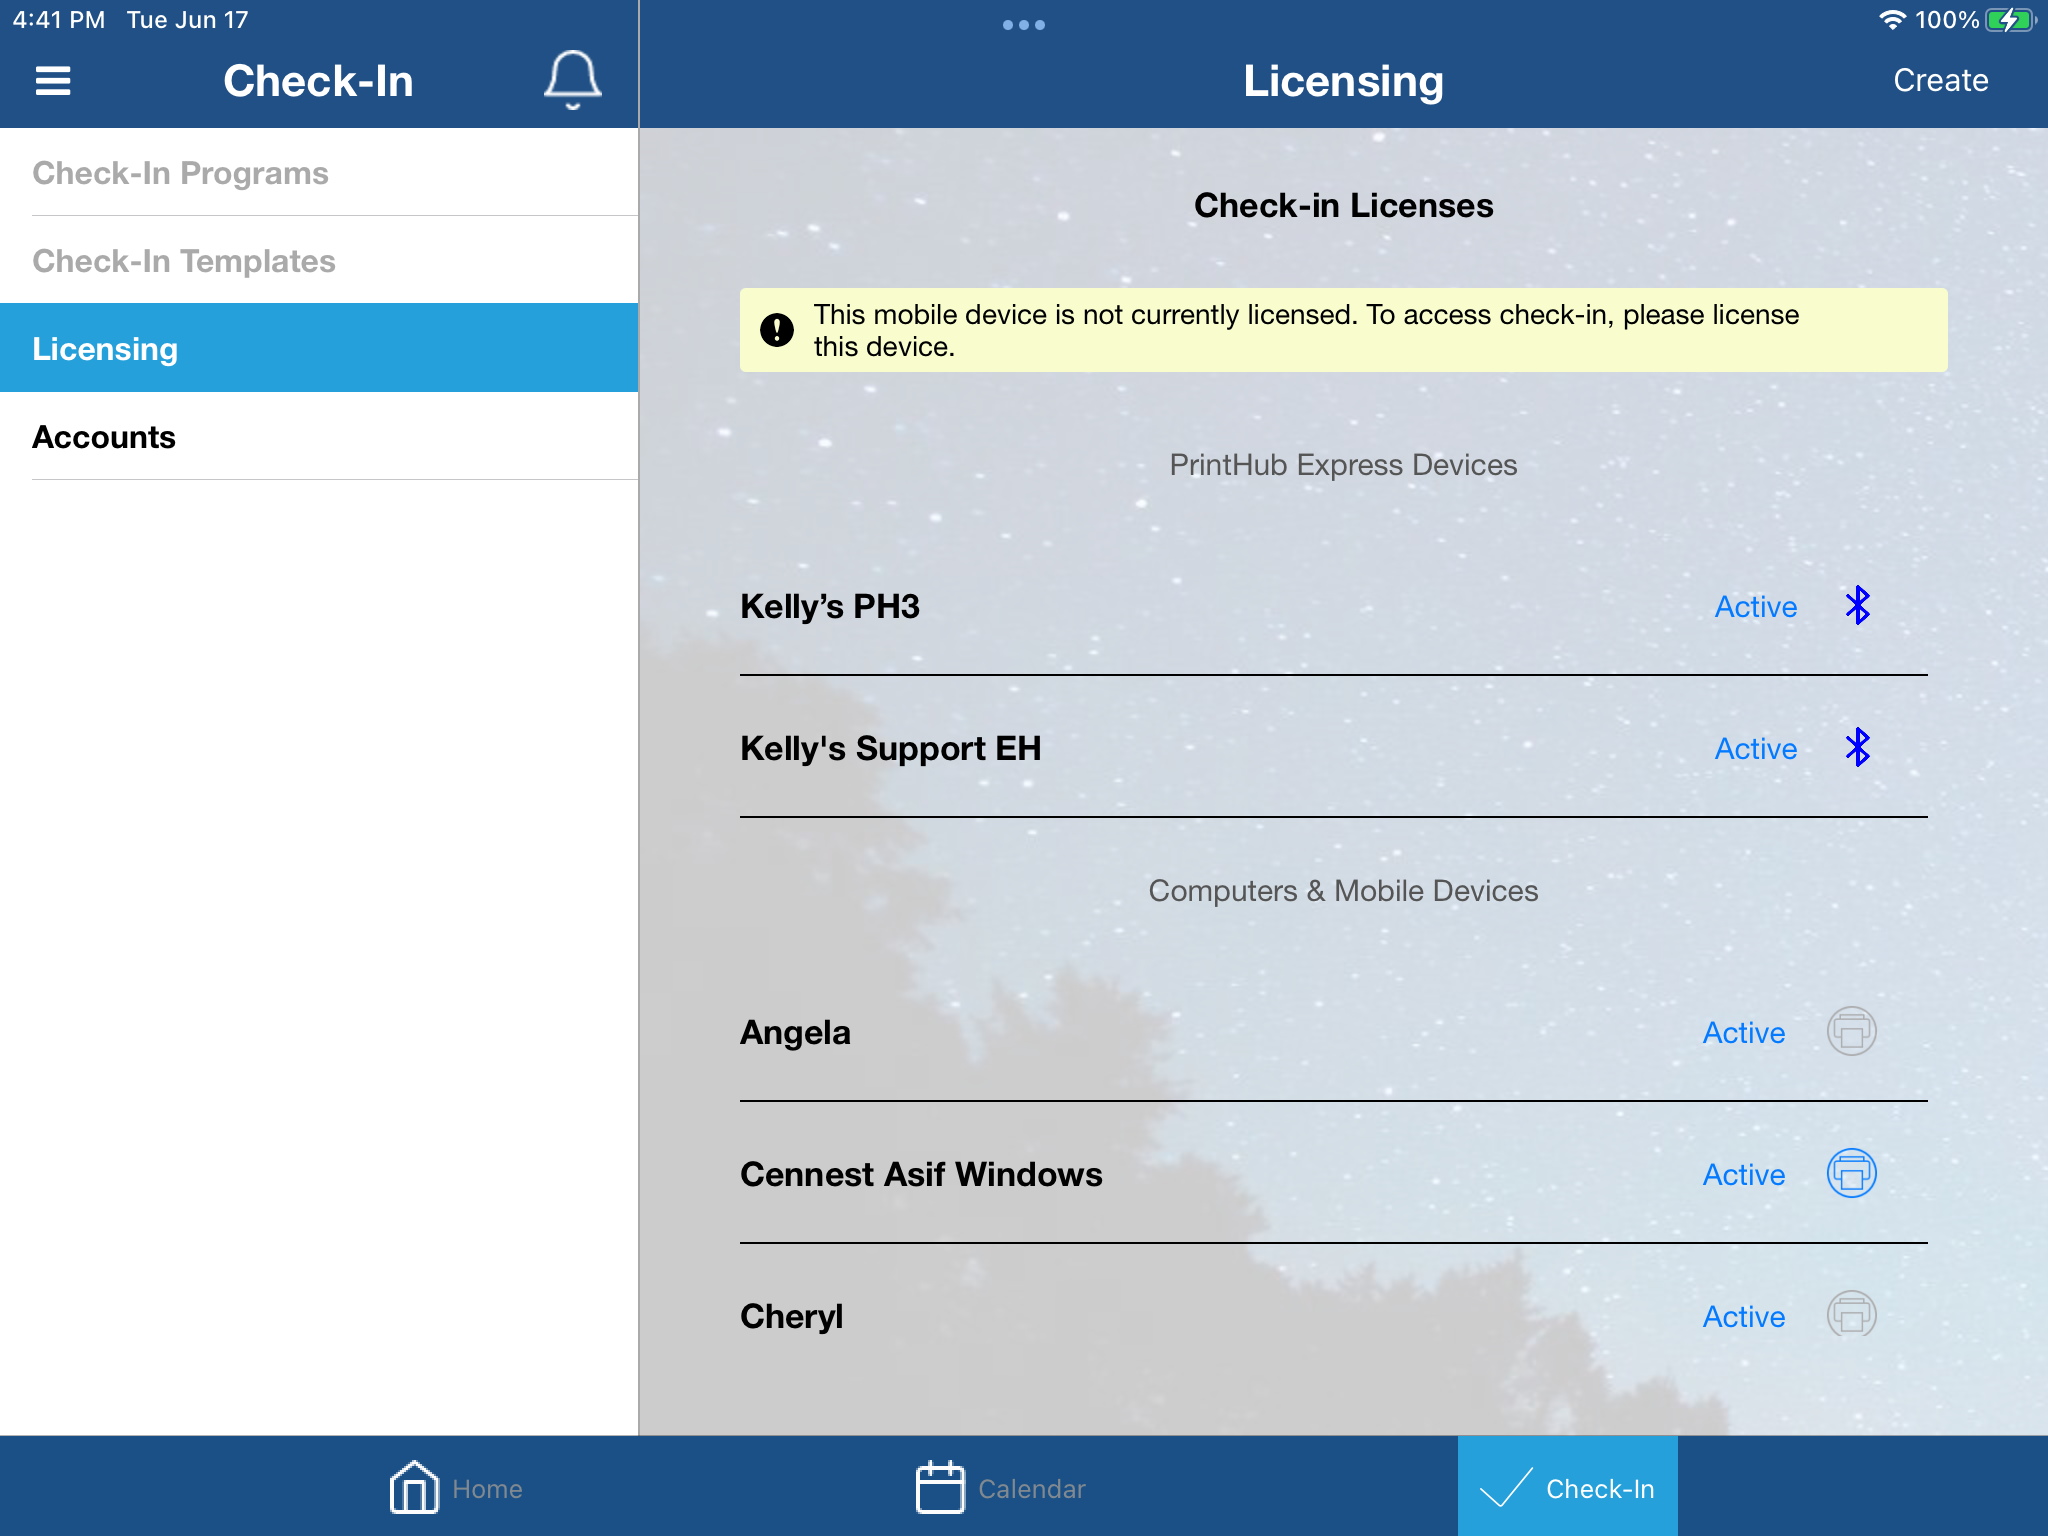
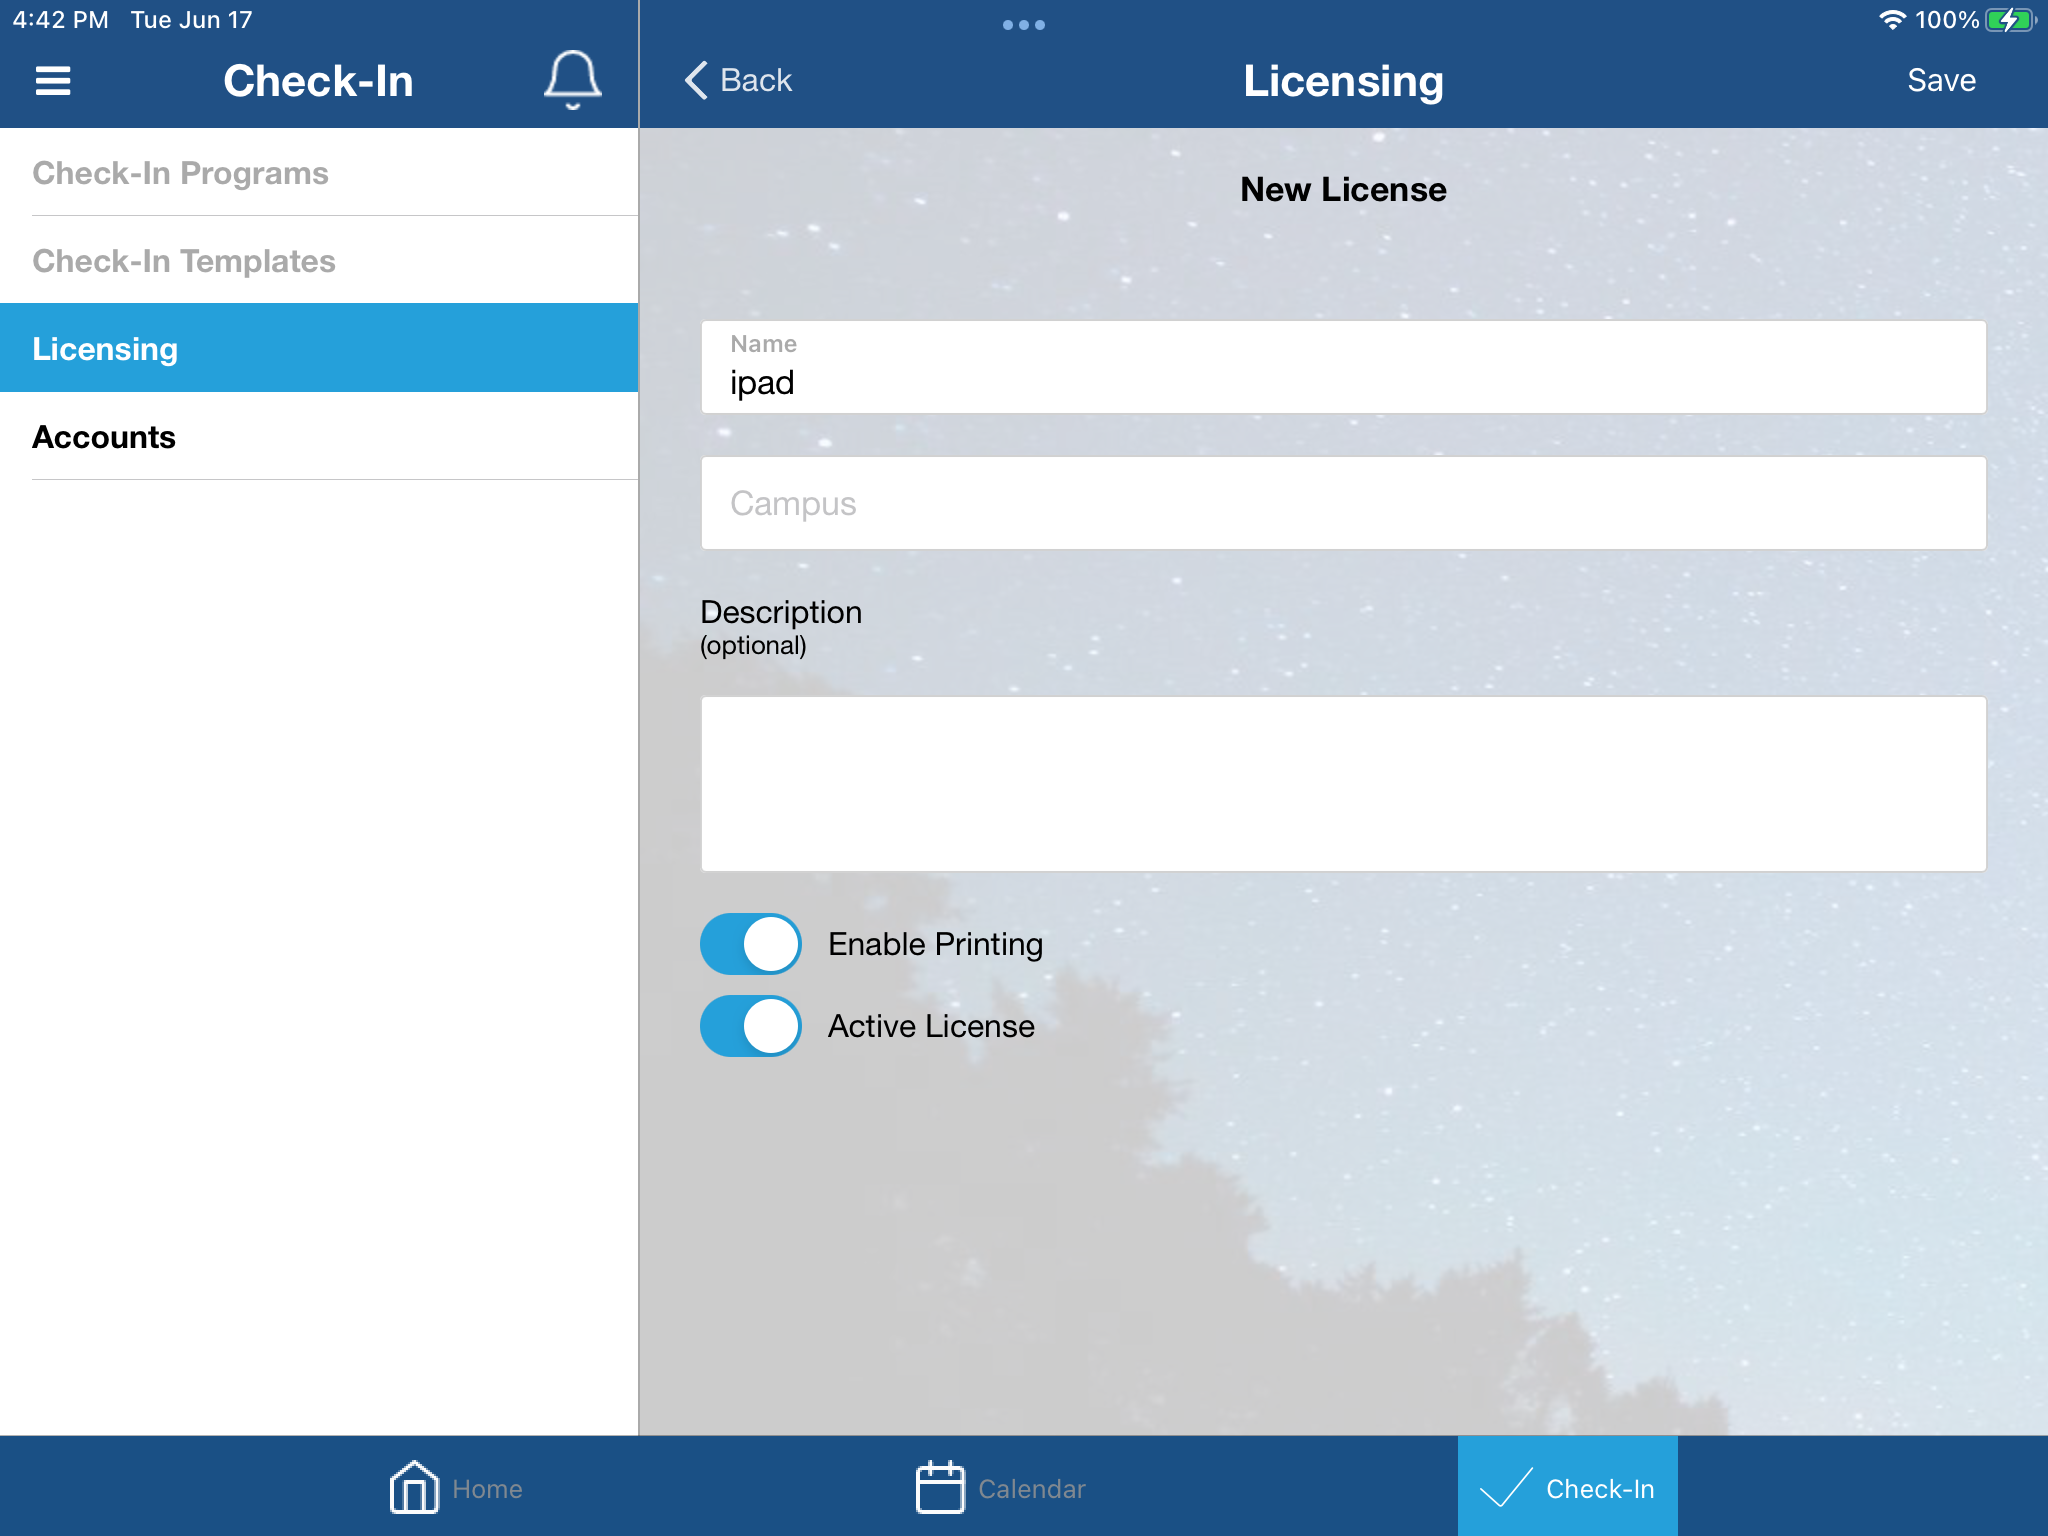
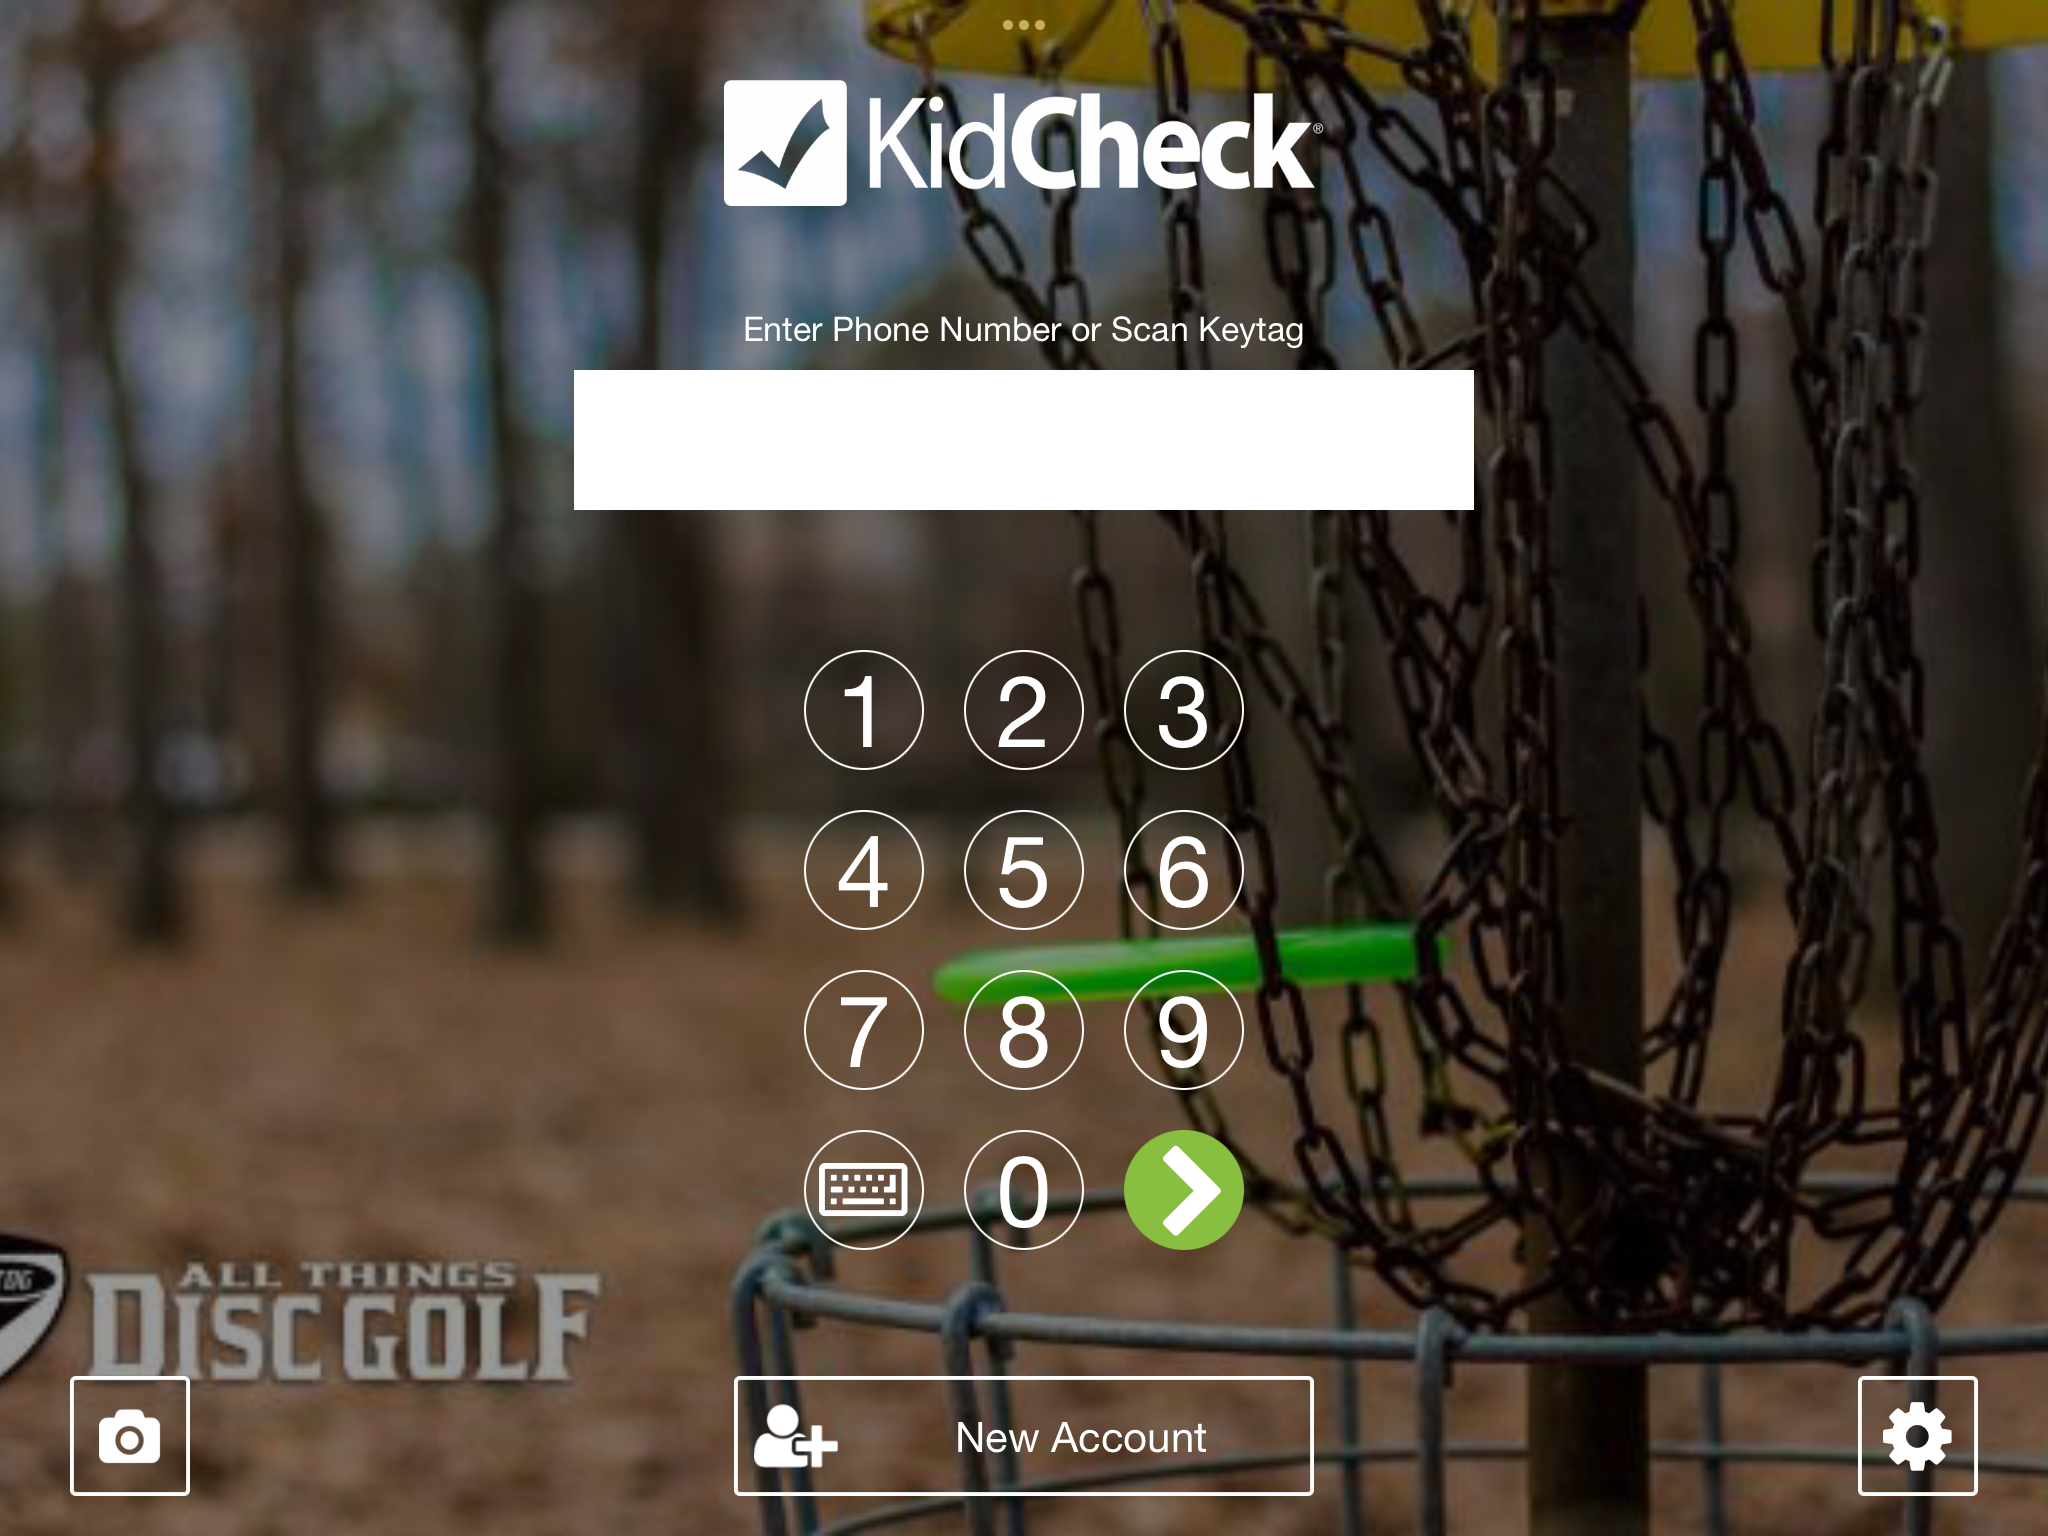
2) Launch the KidCheck mobile app and sign-in with your admin credentials. Choose the “Check-In” option from the bottom of your app screen and select “Use as Check-In Station”. Select “Licensing” and then choose “Create”. Fill out your device license name, select a campus, and toggled the printing and licensing options on, and choose “Save”. Then close out of the app.
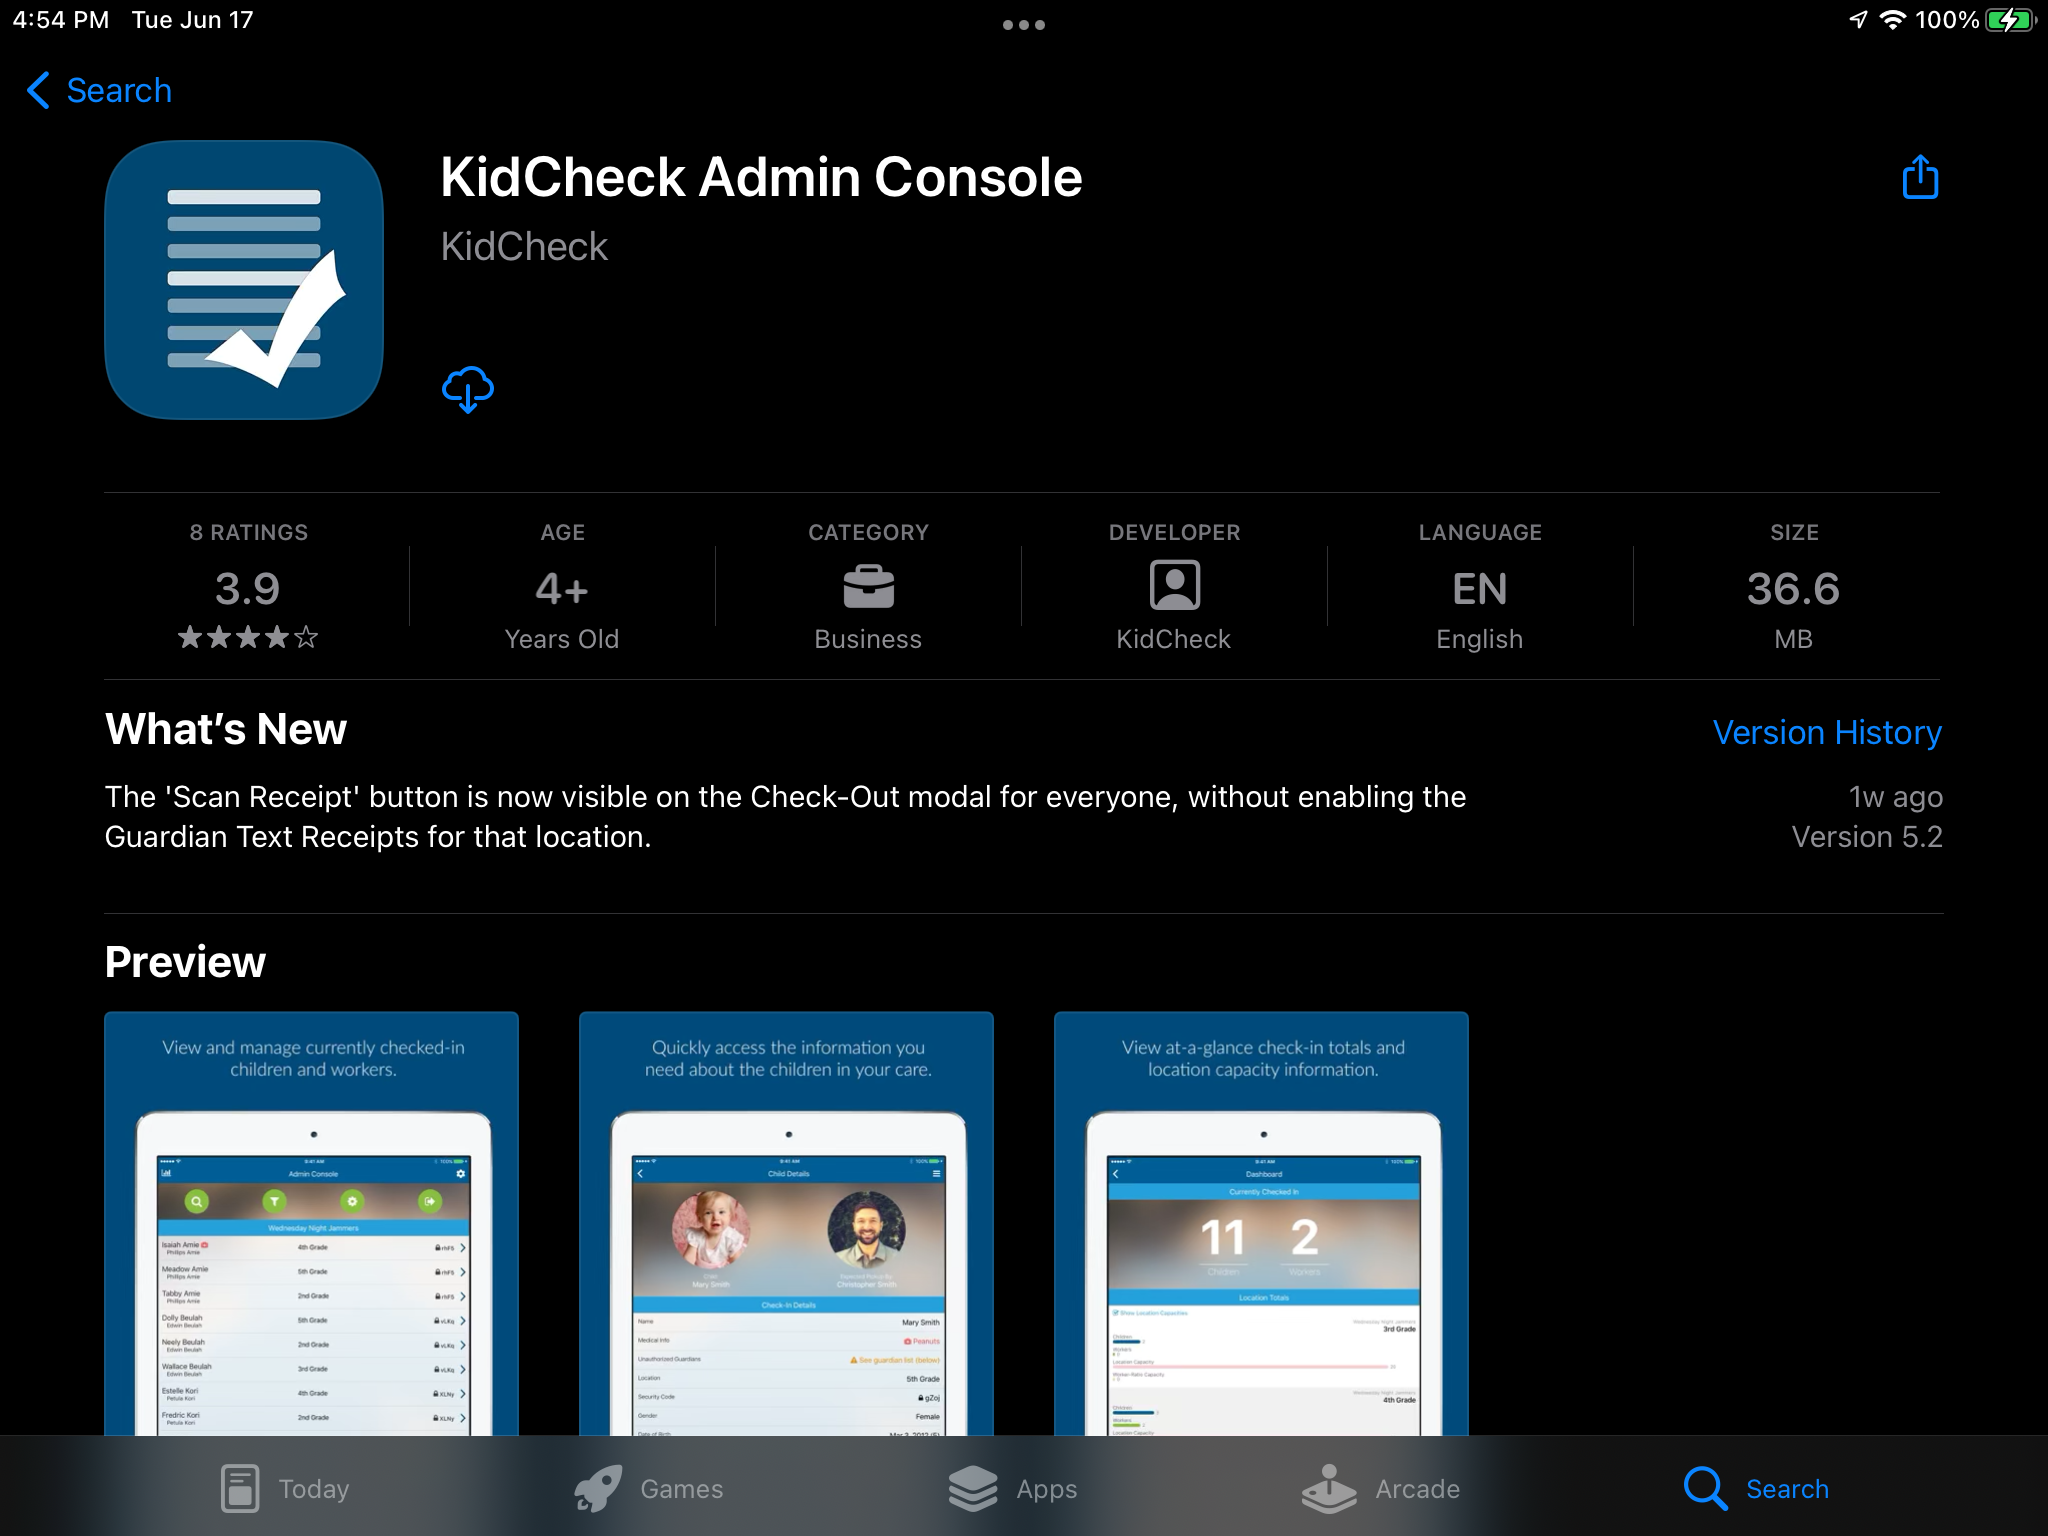
3) Search for the “kidcheck admin console” app in the app store on your device and install it:
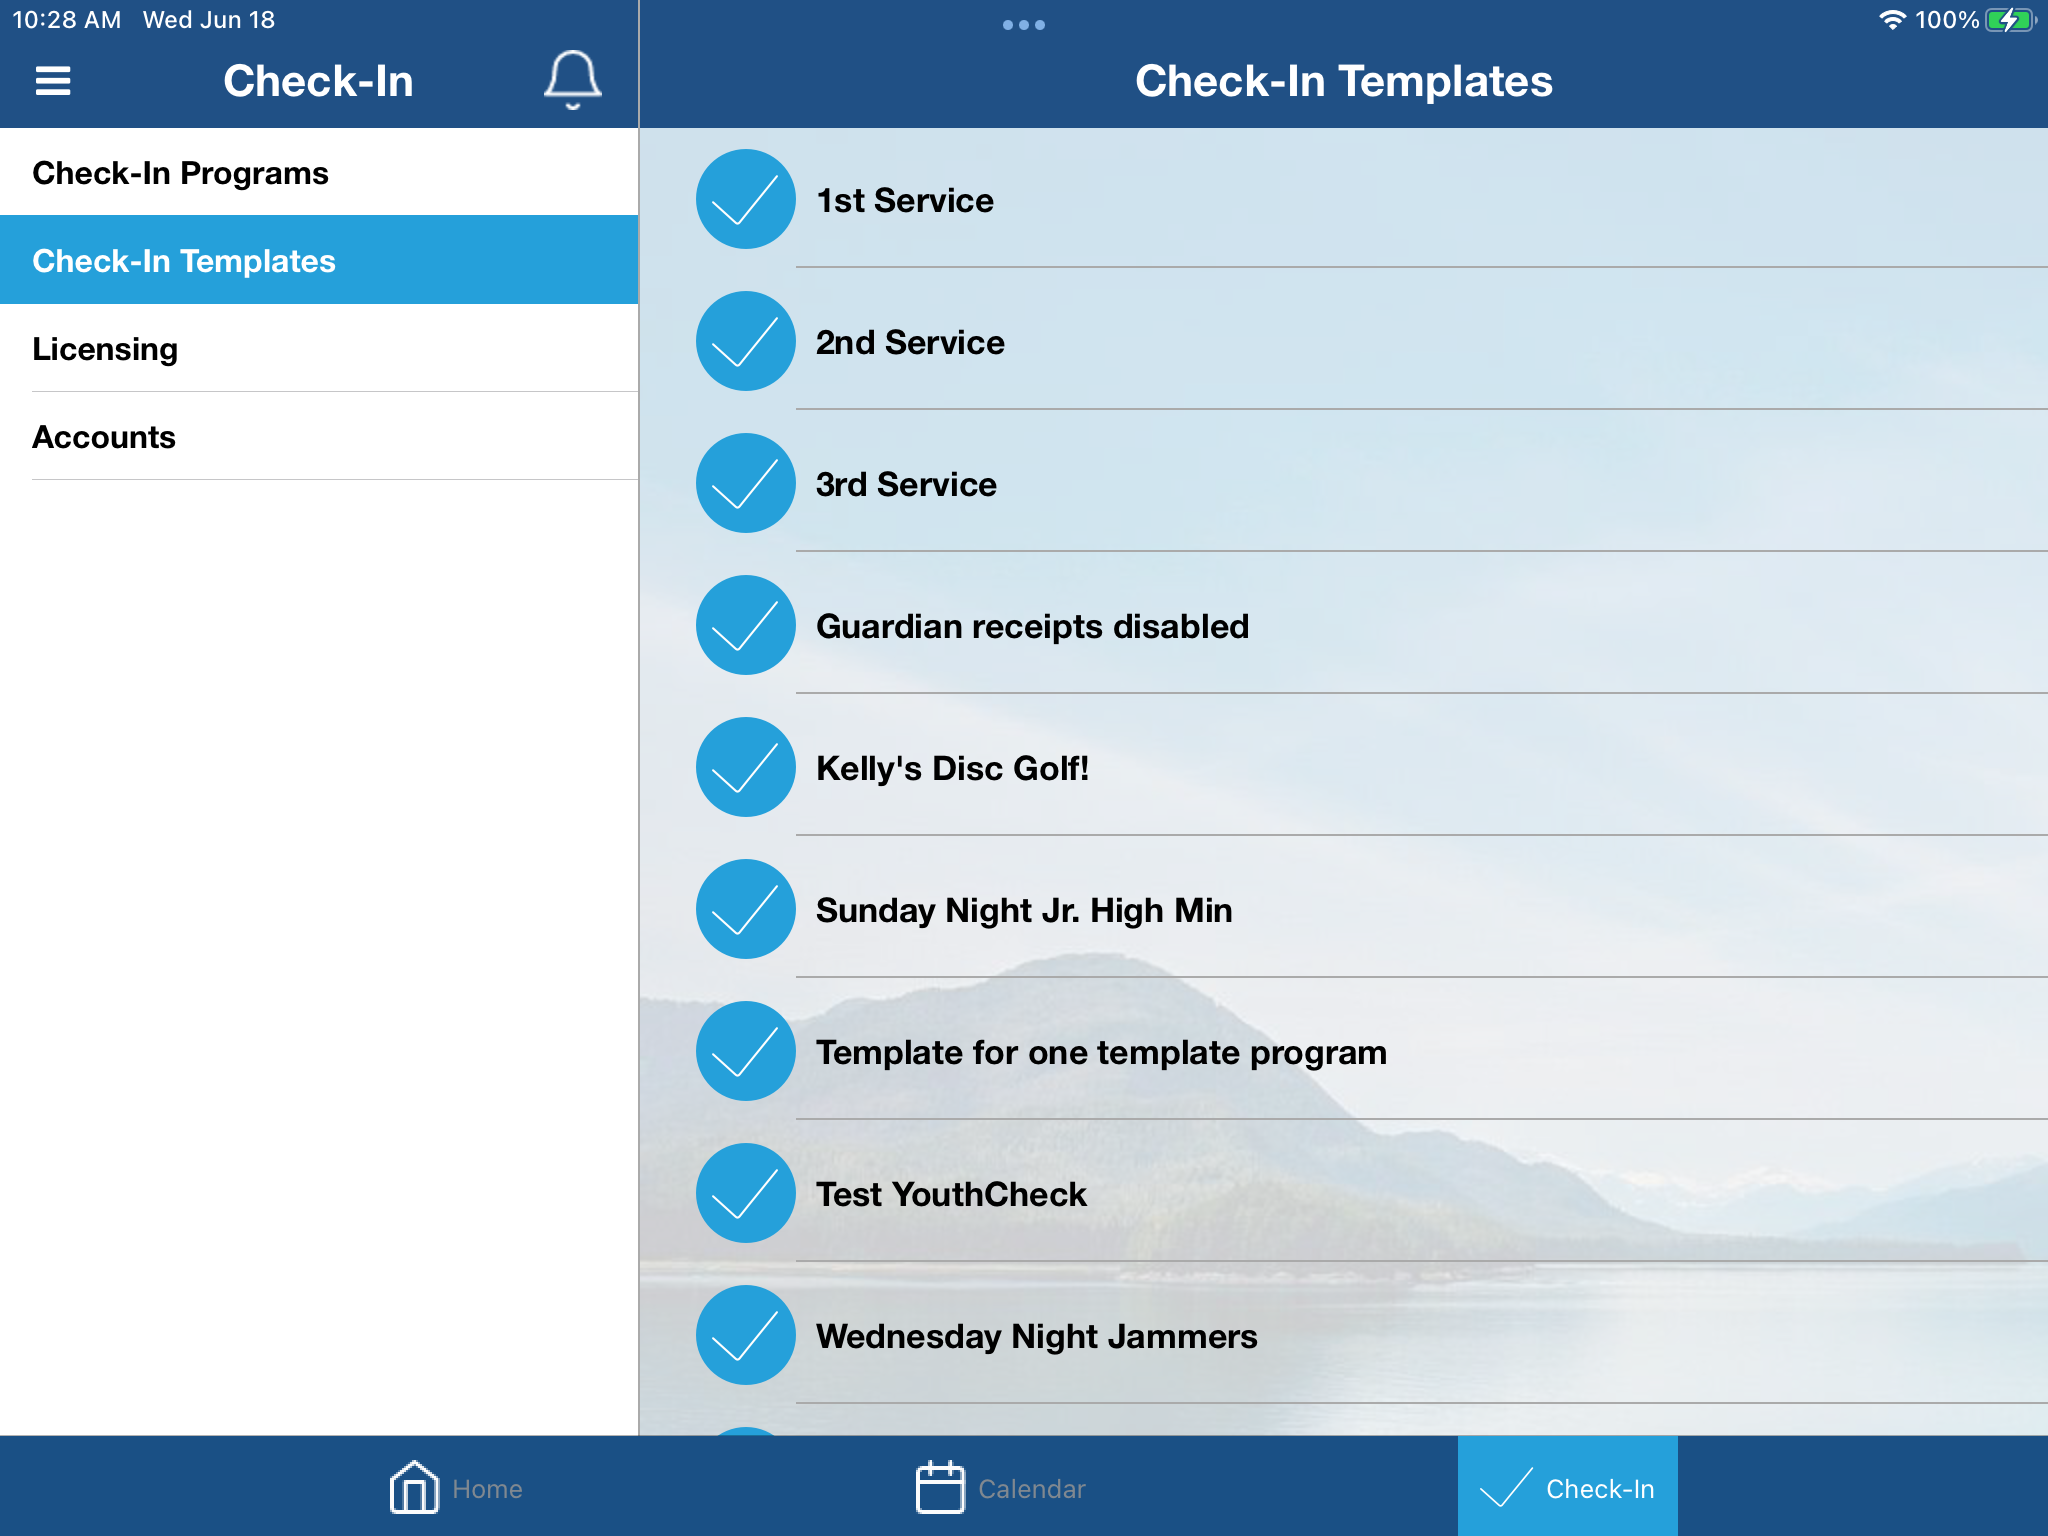
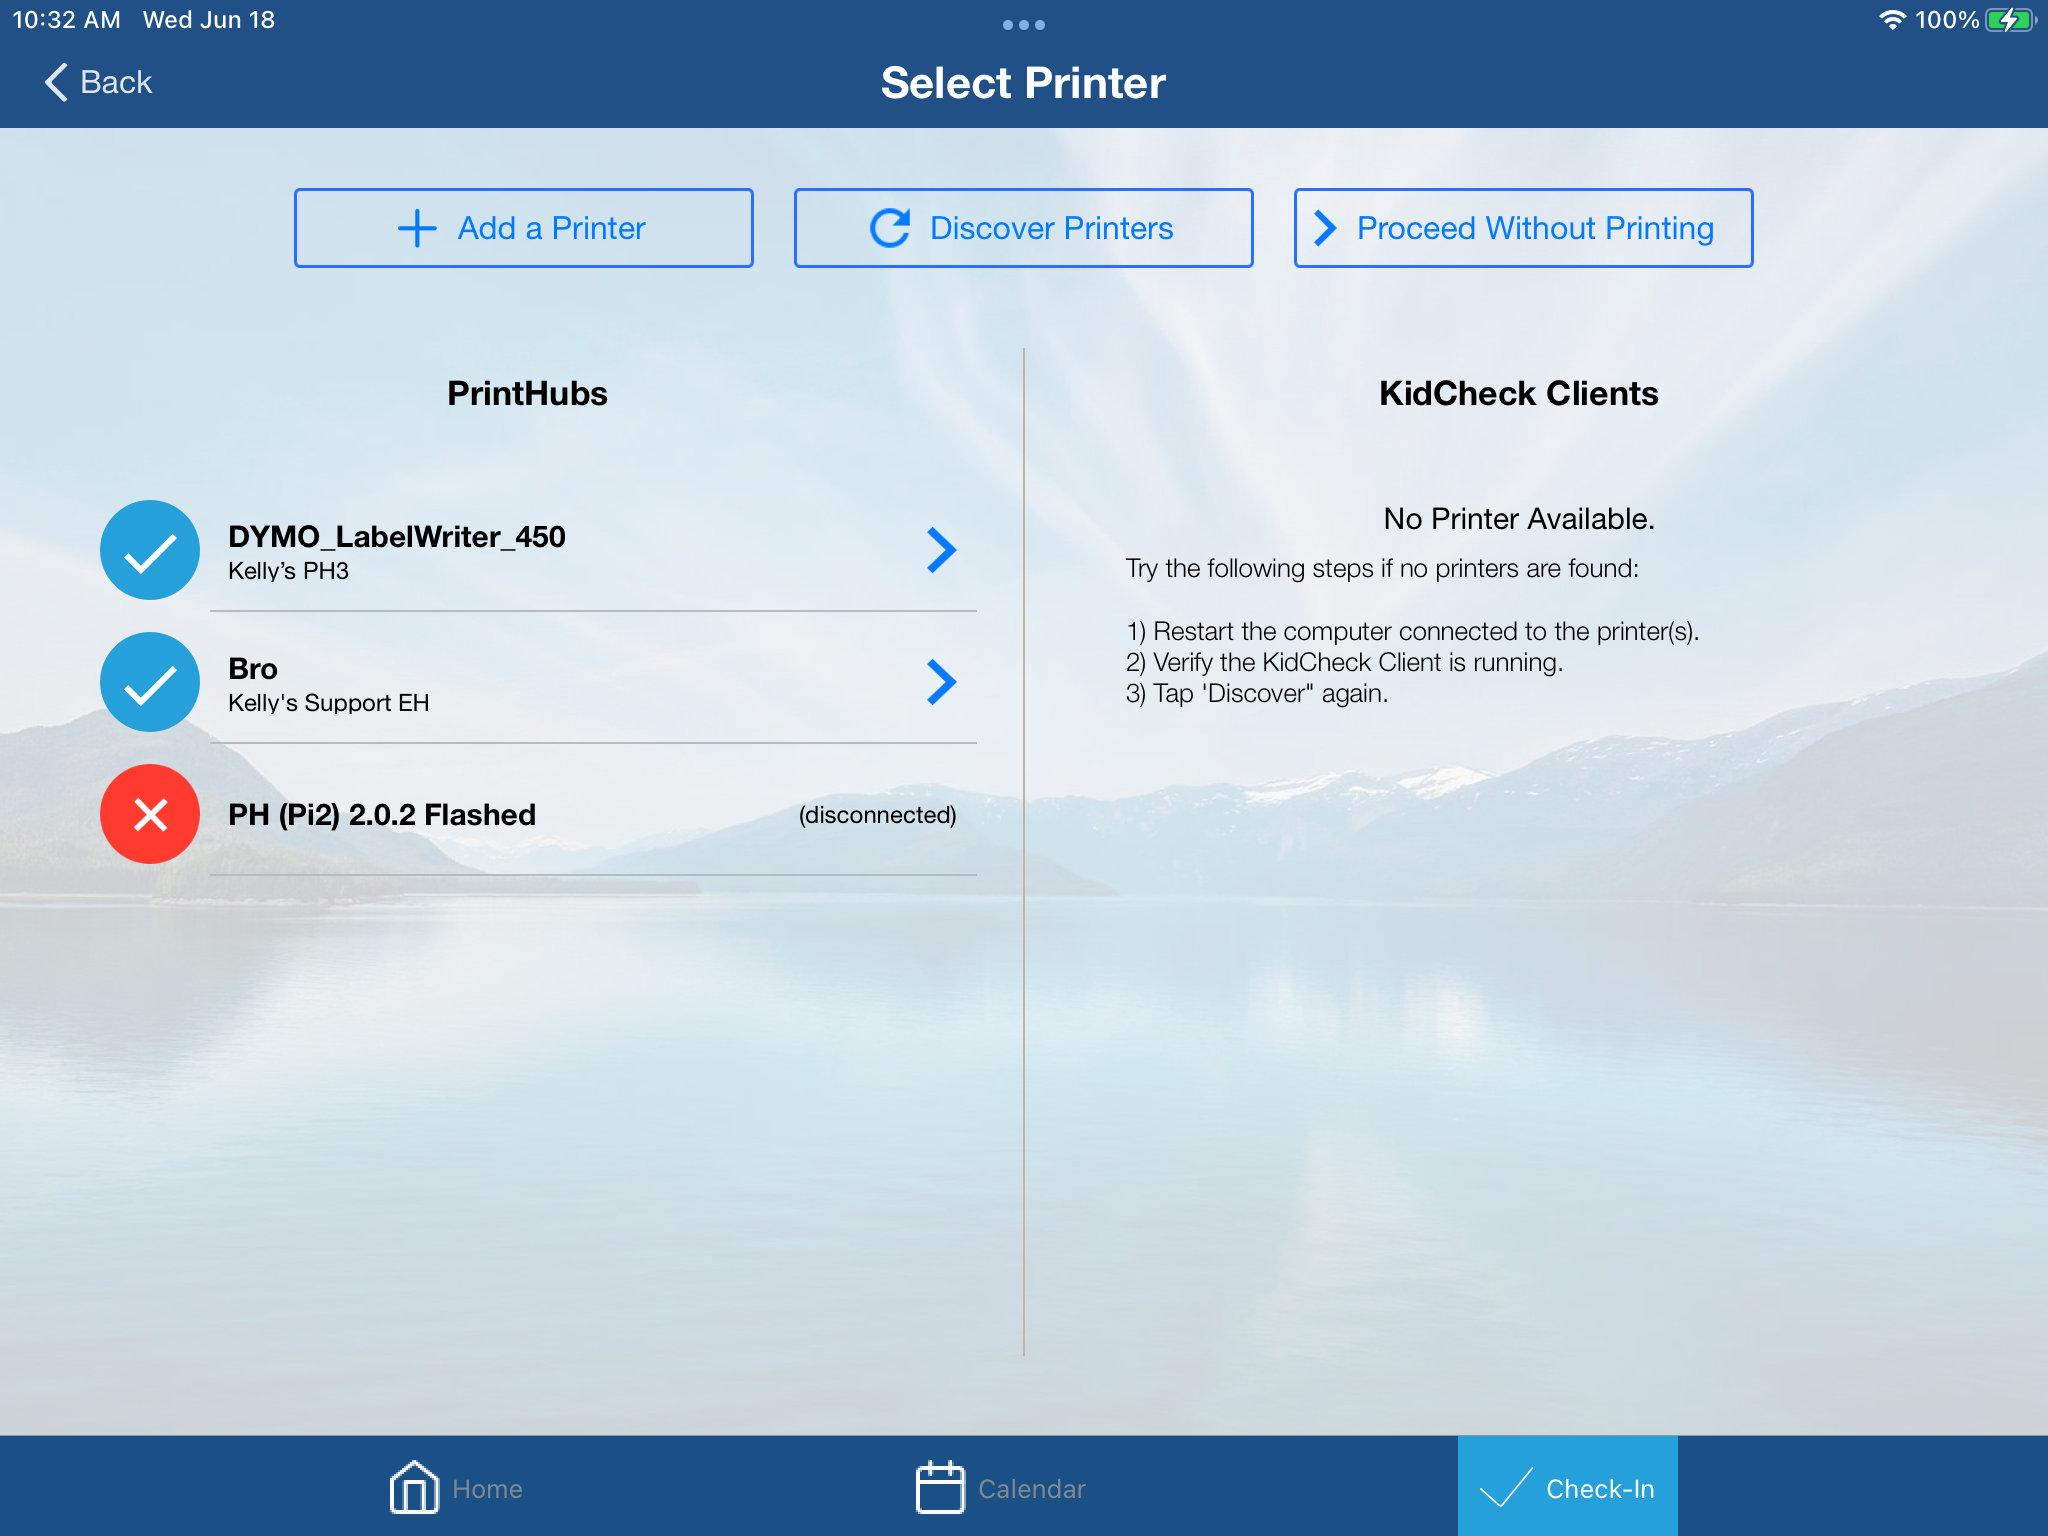
4) Open and sign back into the KidCheck mobile app and choose “Check-In” and “Use as Check-In Station”. Select the Check-In Template that you want to use for Roster Check-In and your printer:
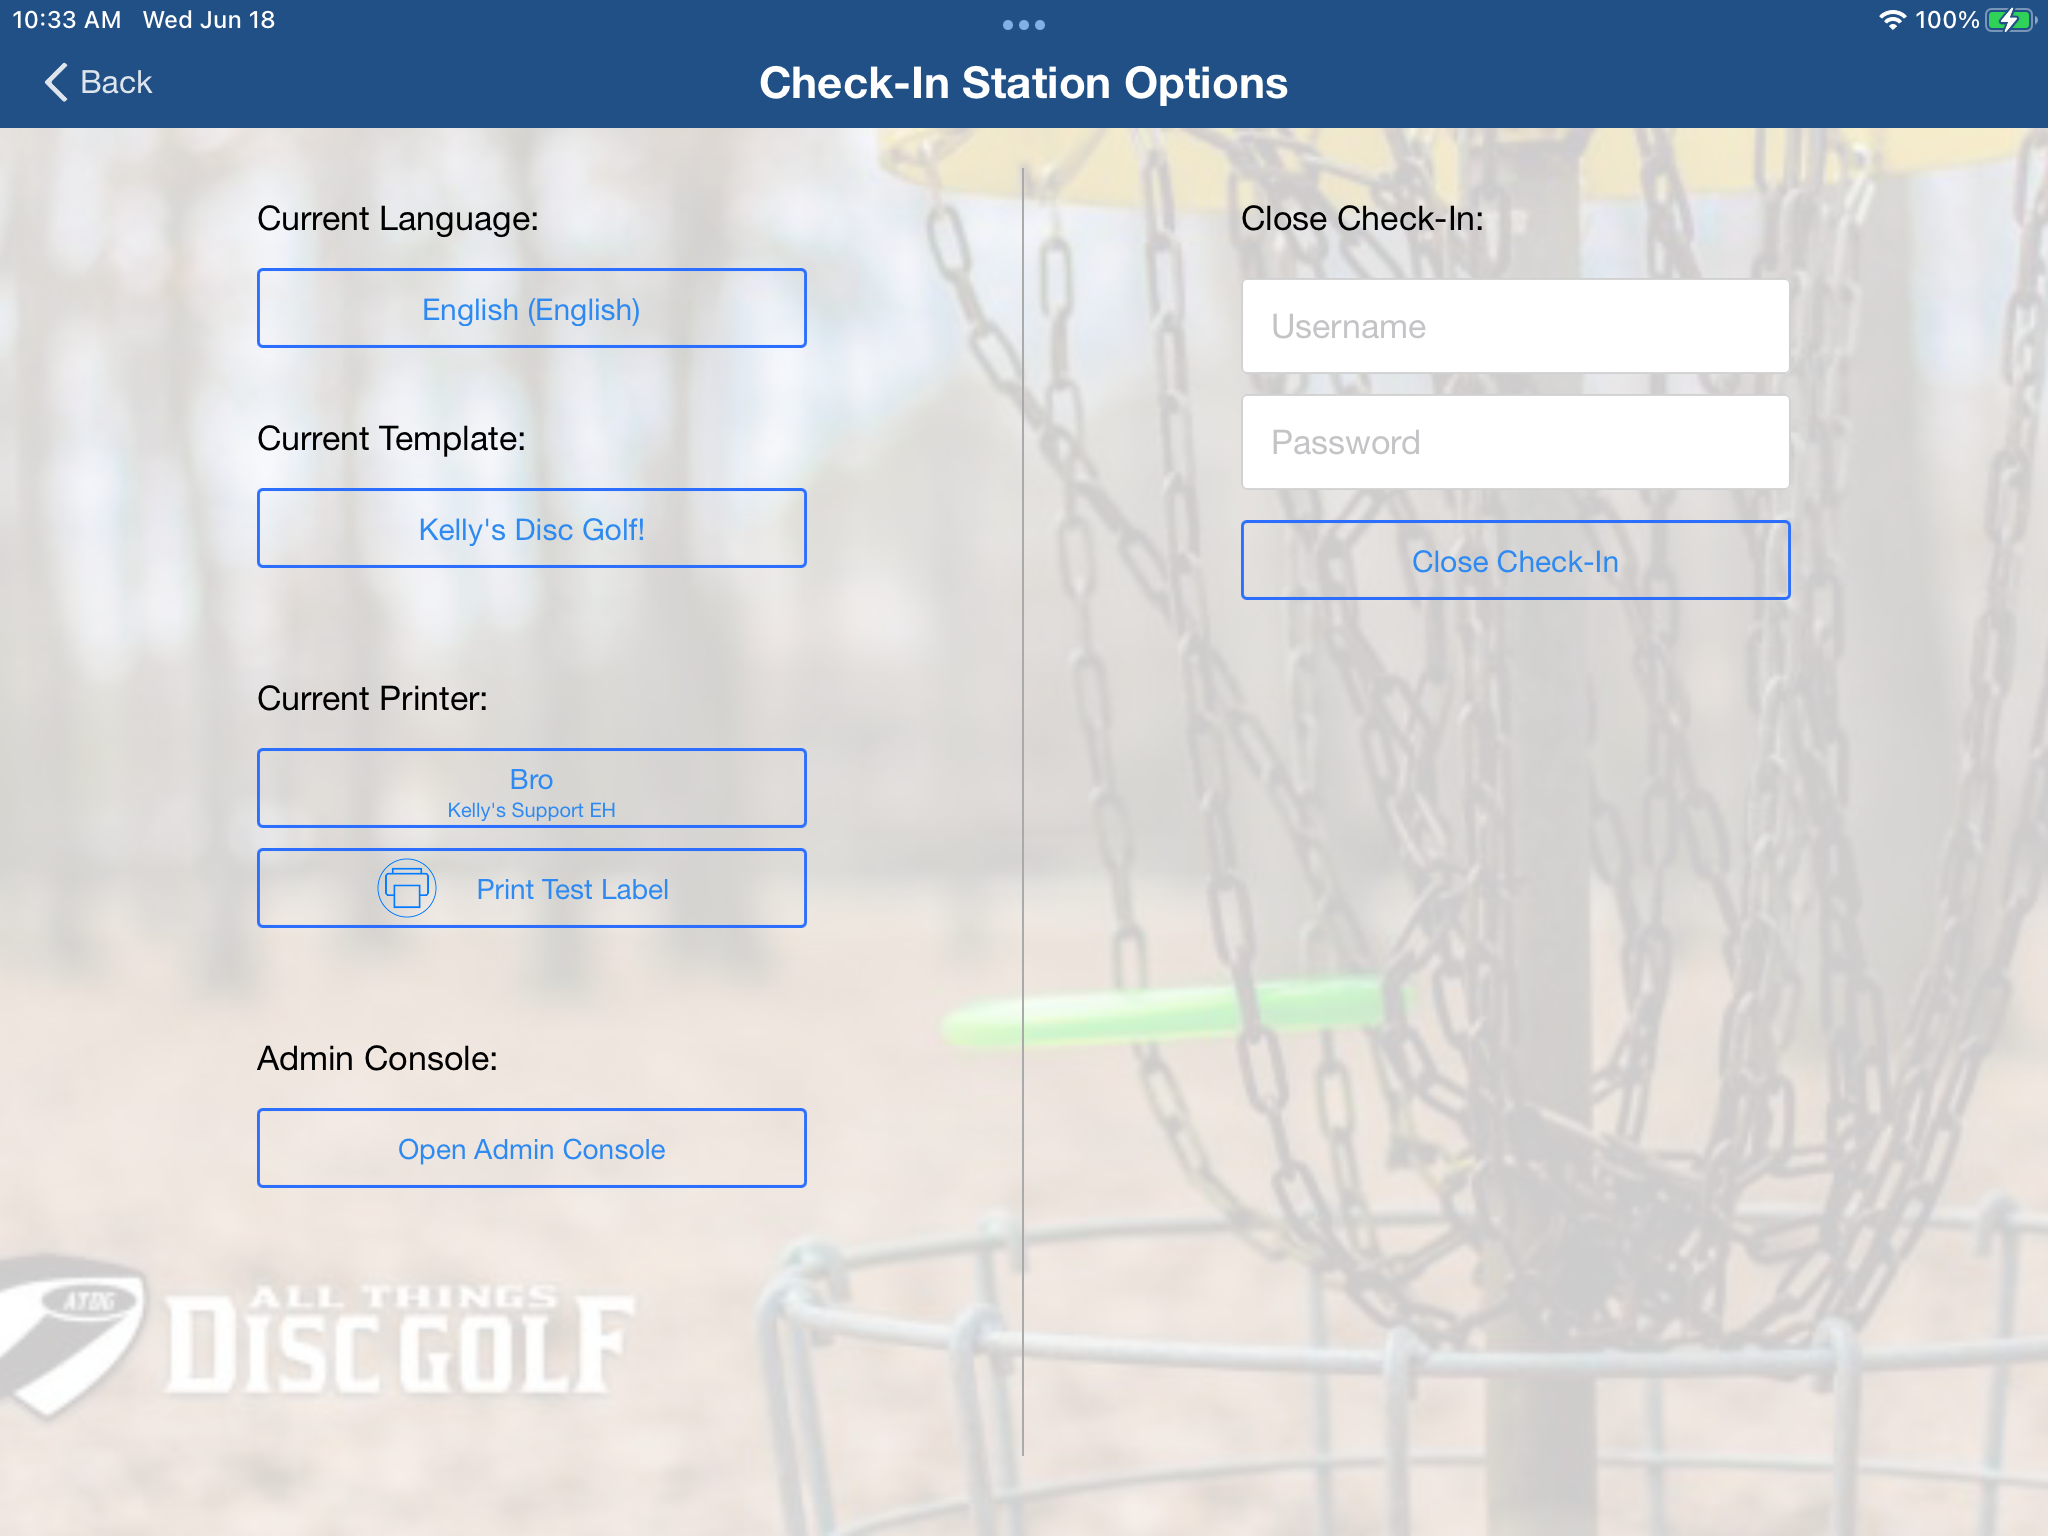
5) Once your check-in template is launched, choose the app gear located in the lower right of your screen and select “Open Admin Console”:
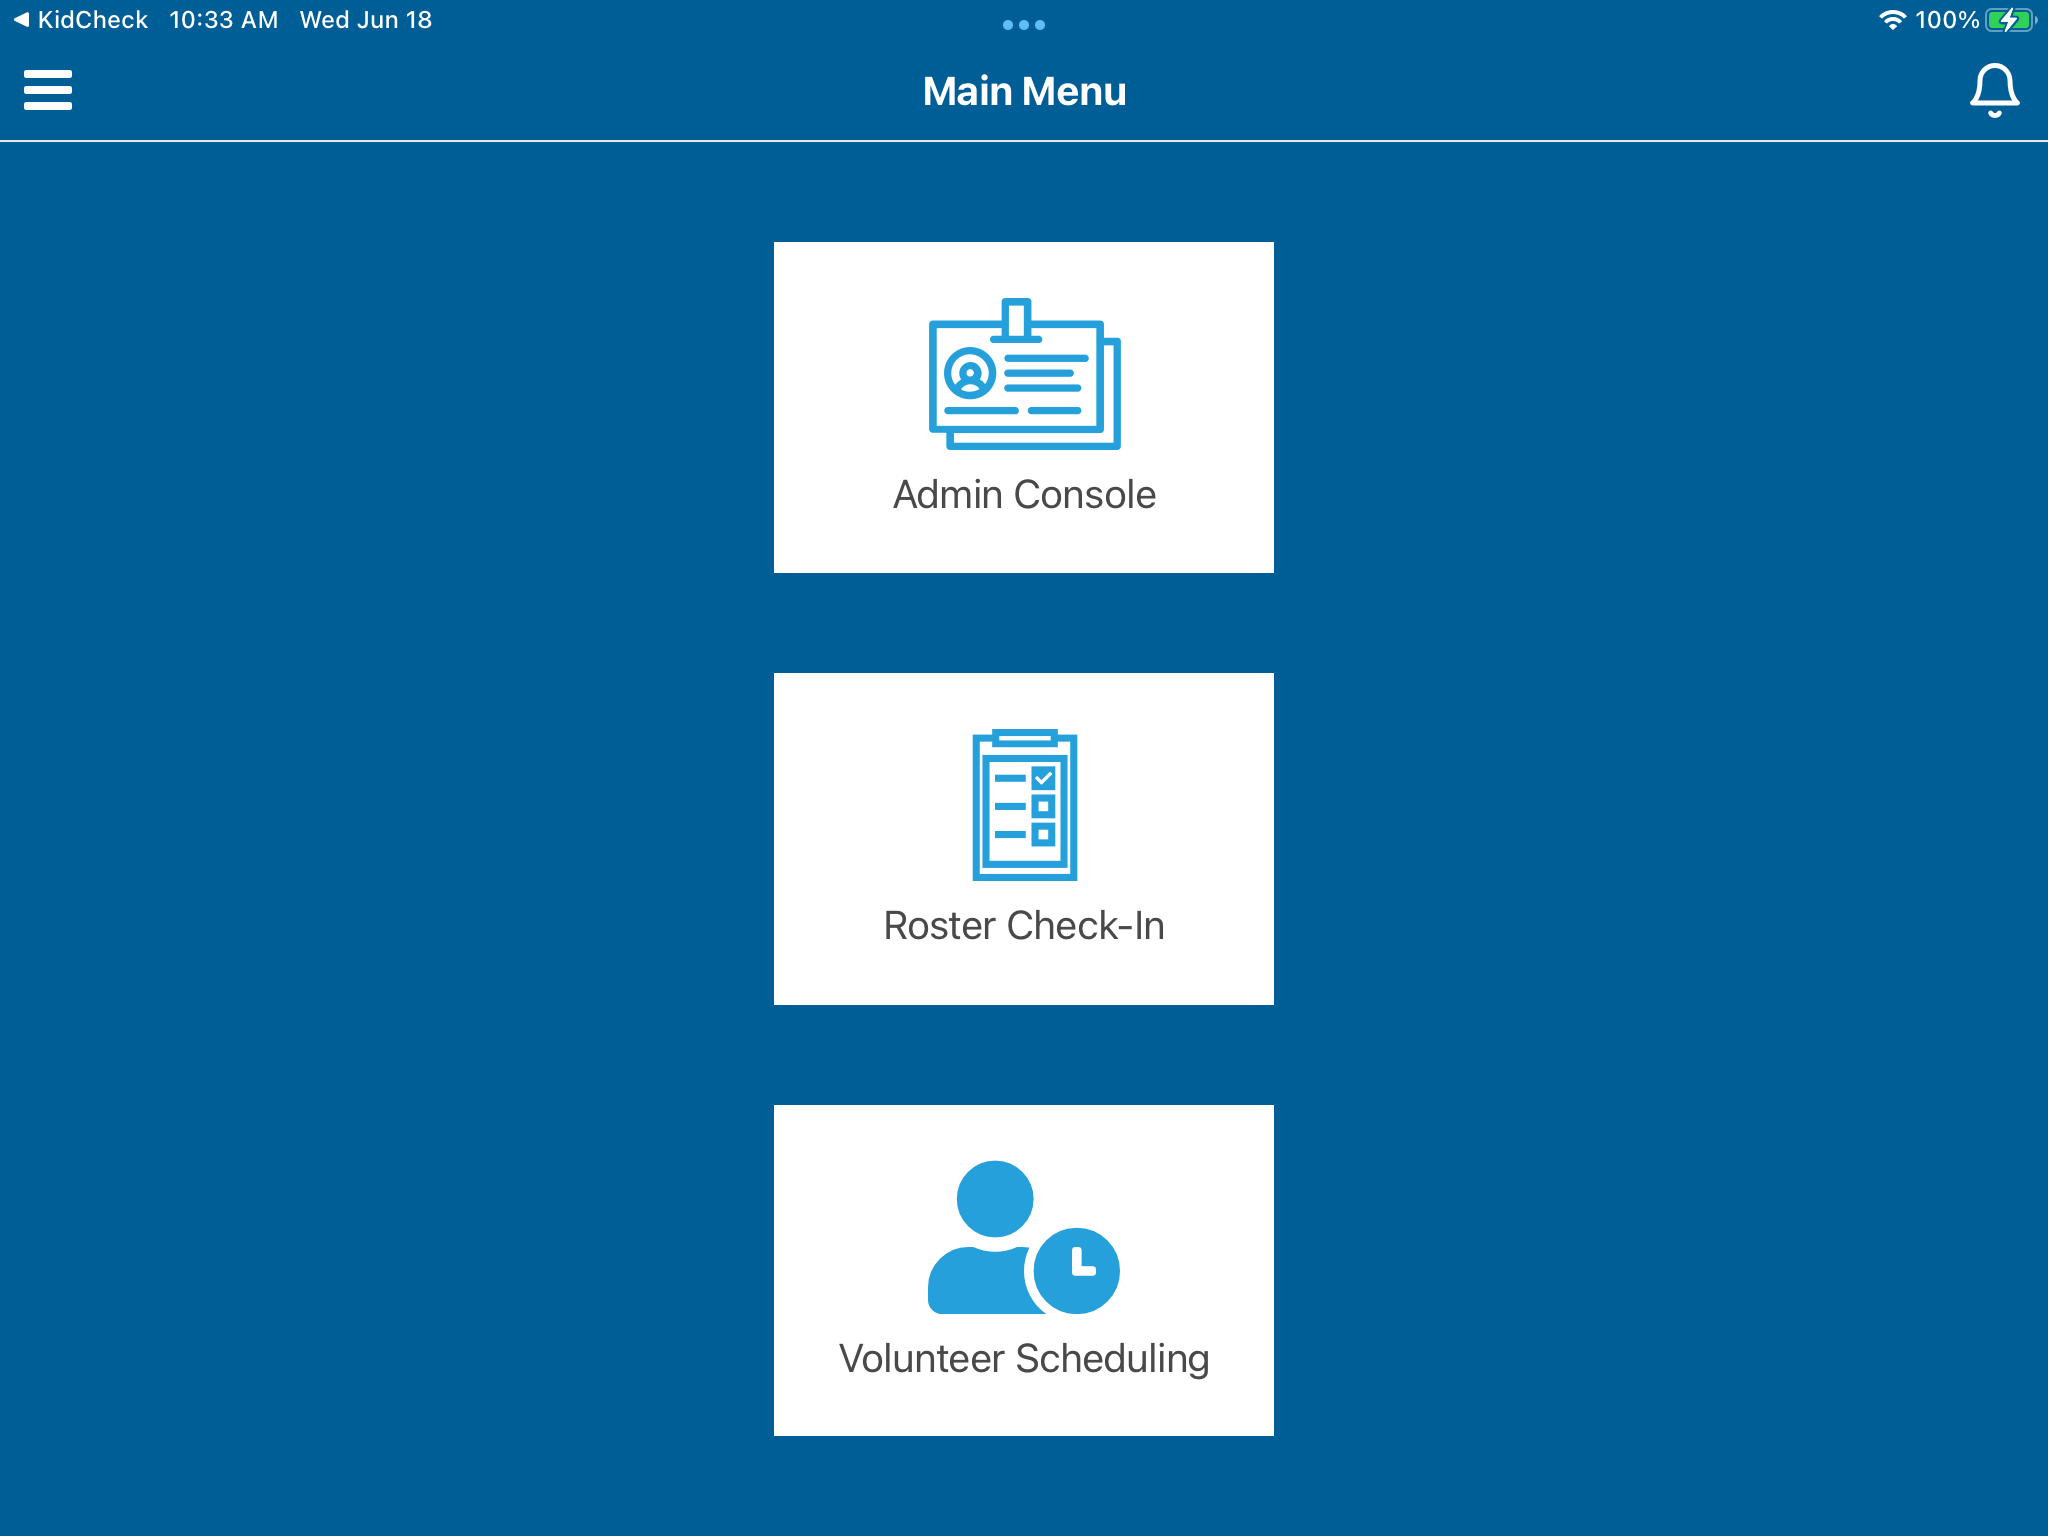
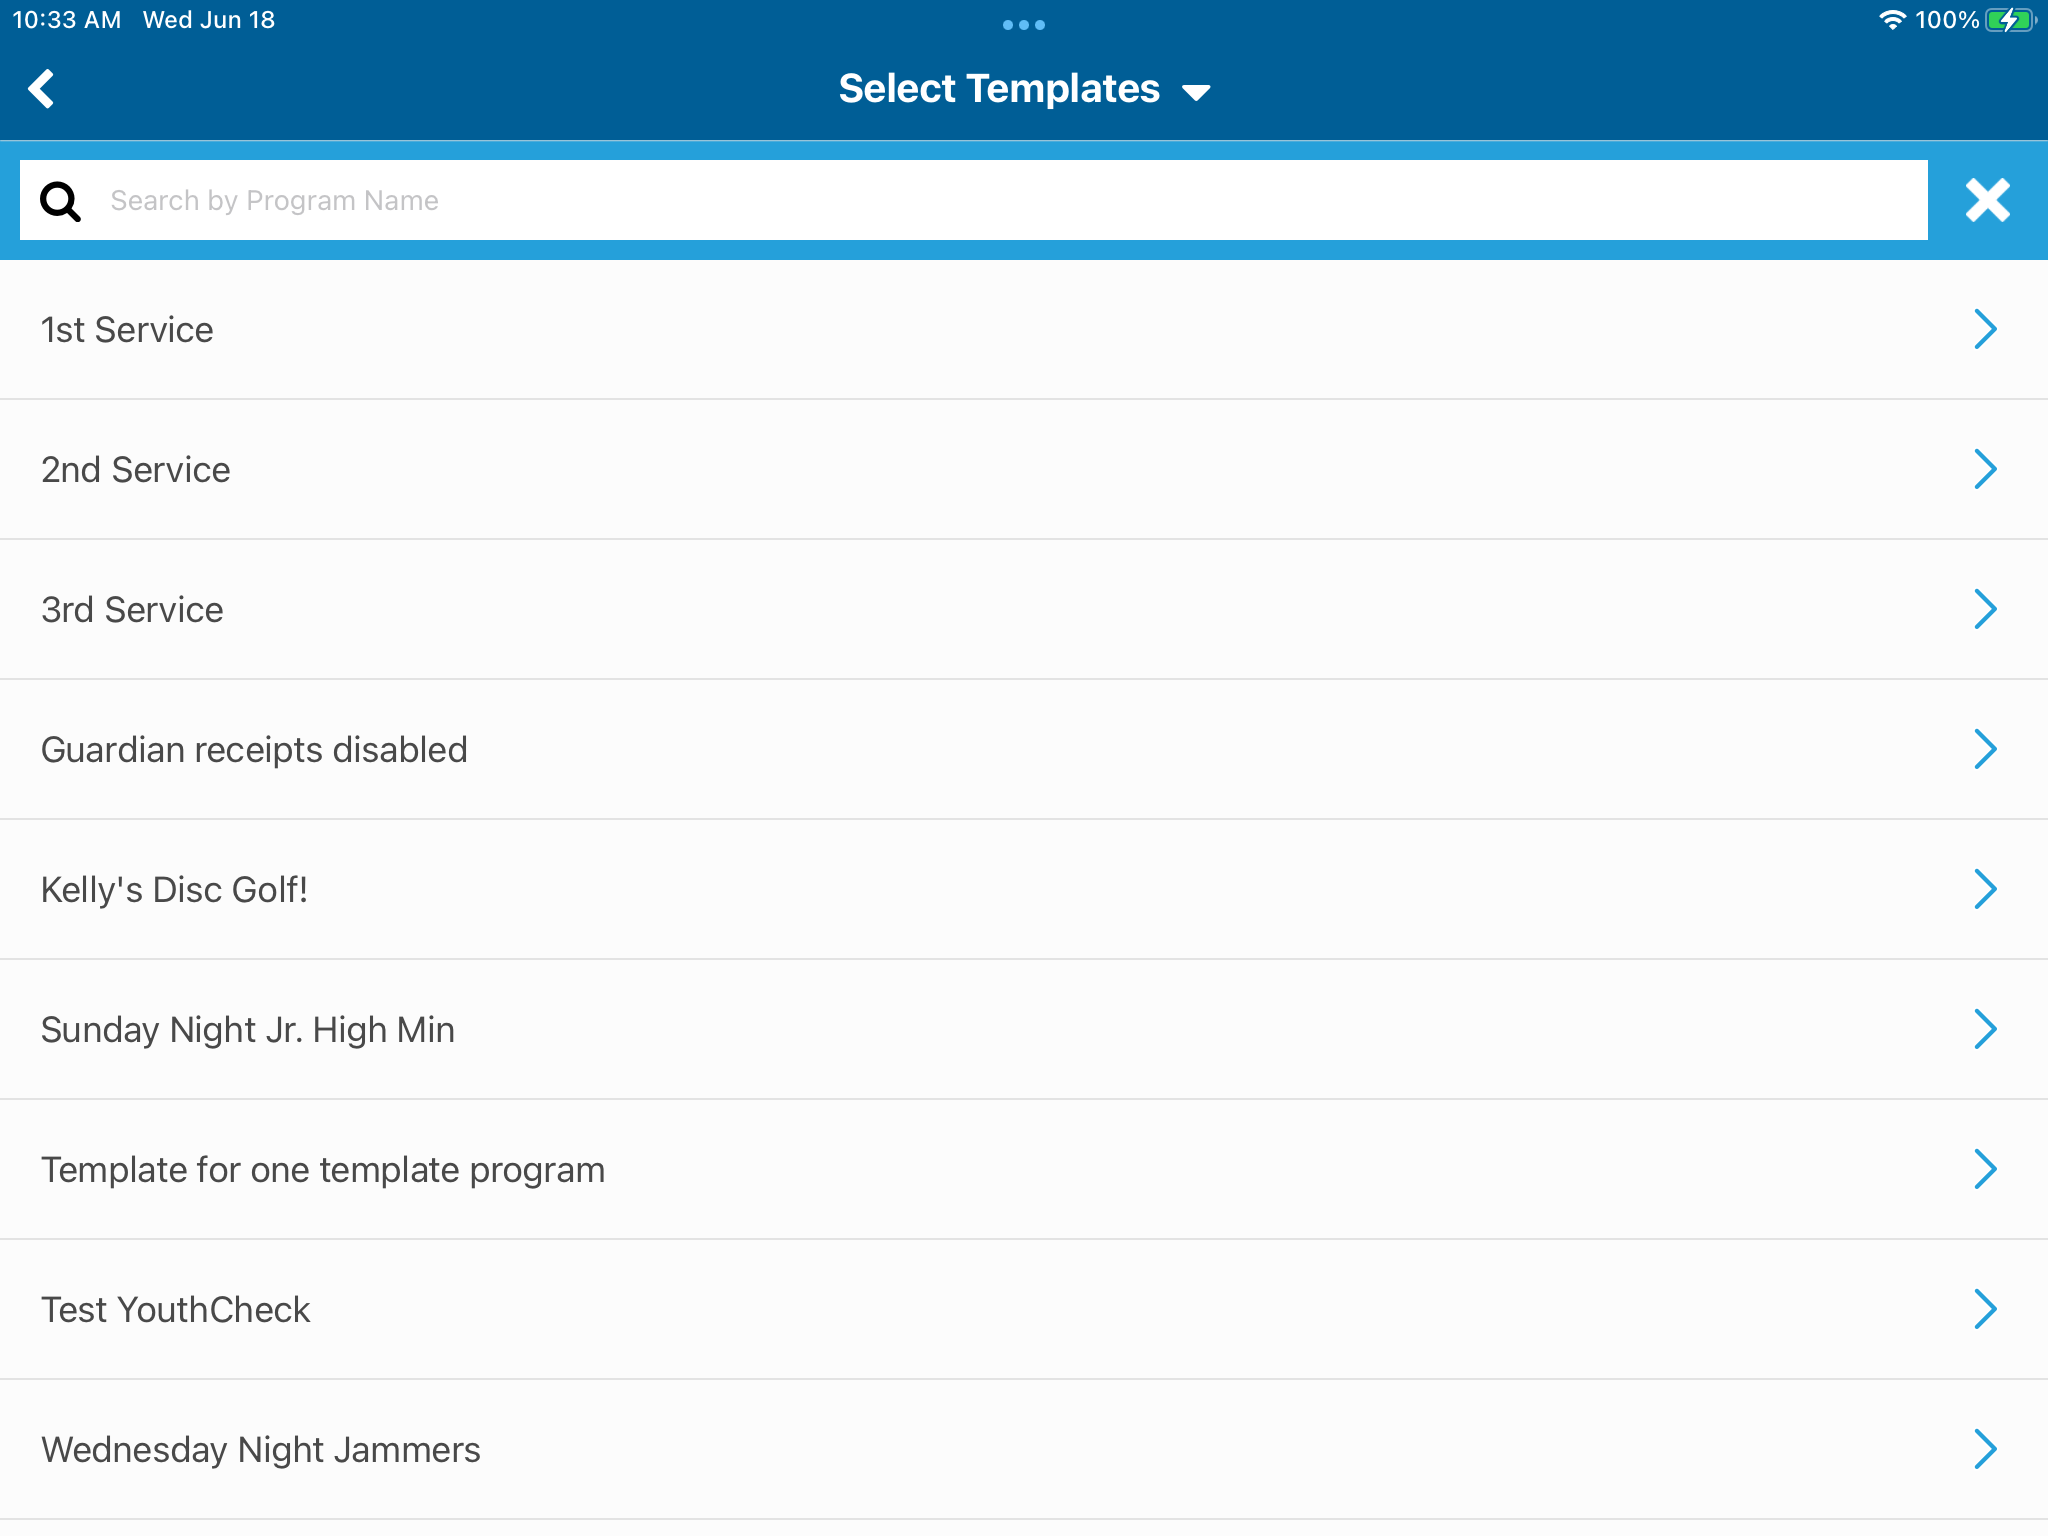
6) Choose the “Roster Check-In” option from the main menu of the Admin Console app and select the Check-In template that you want to perform Roster Check-in under:
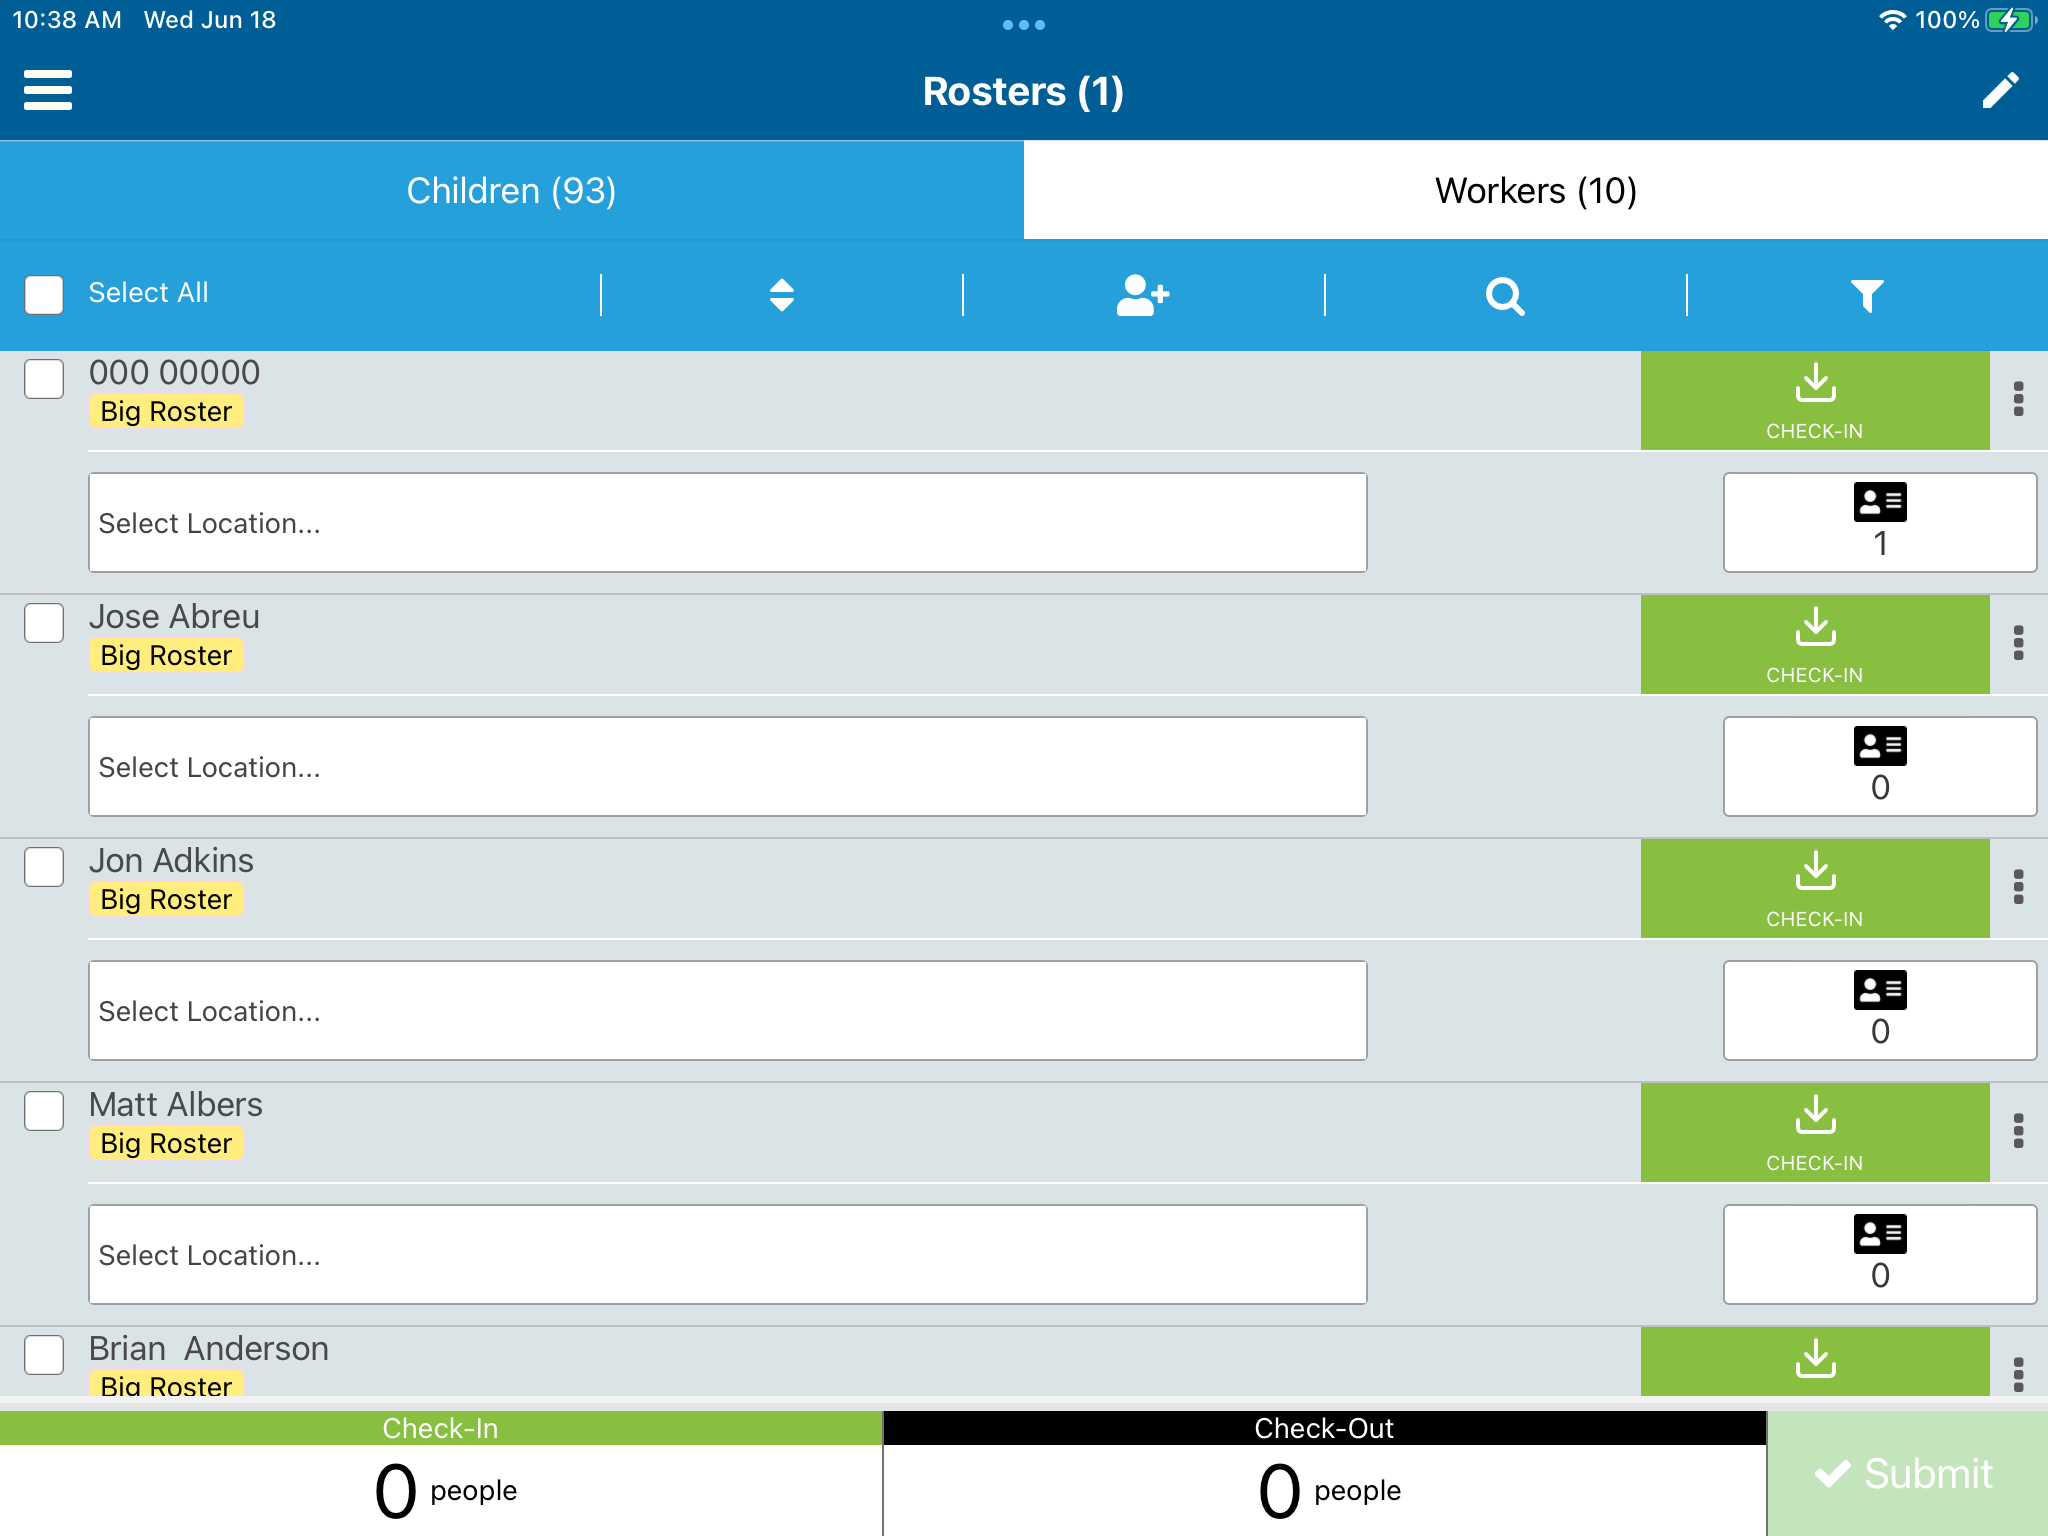
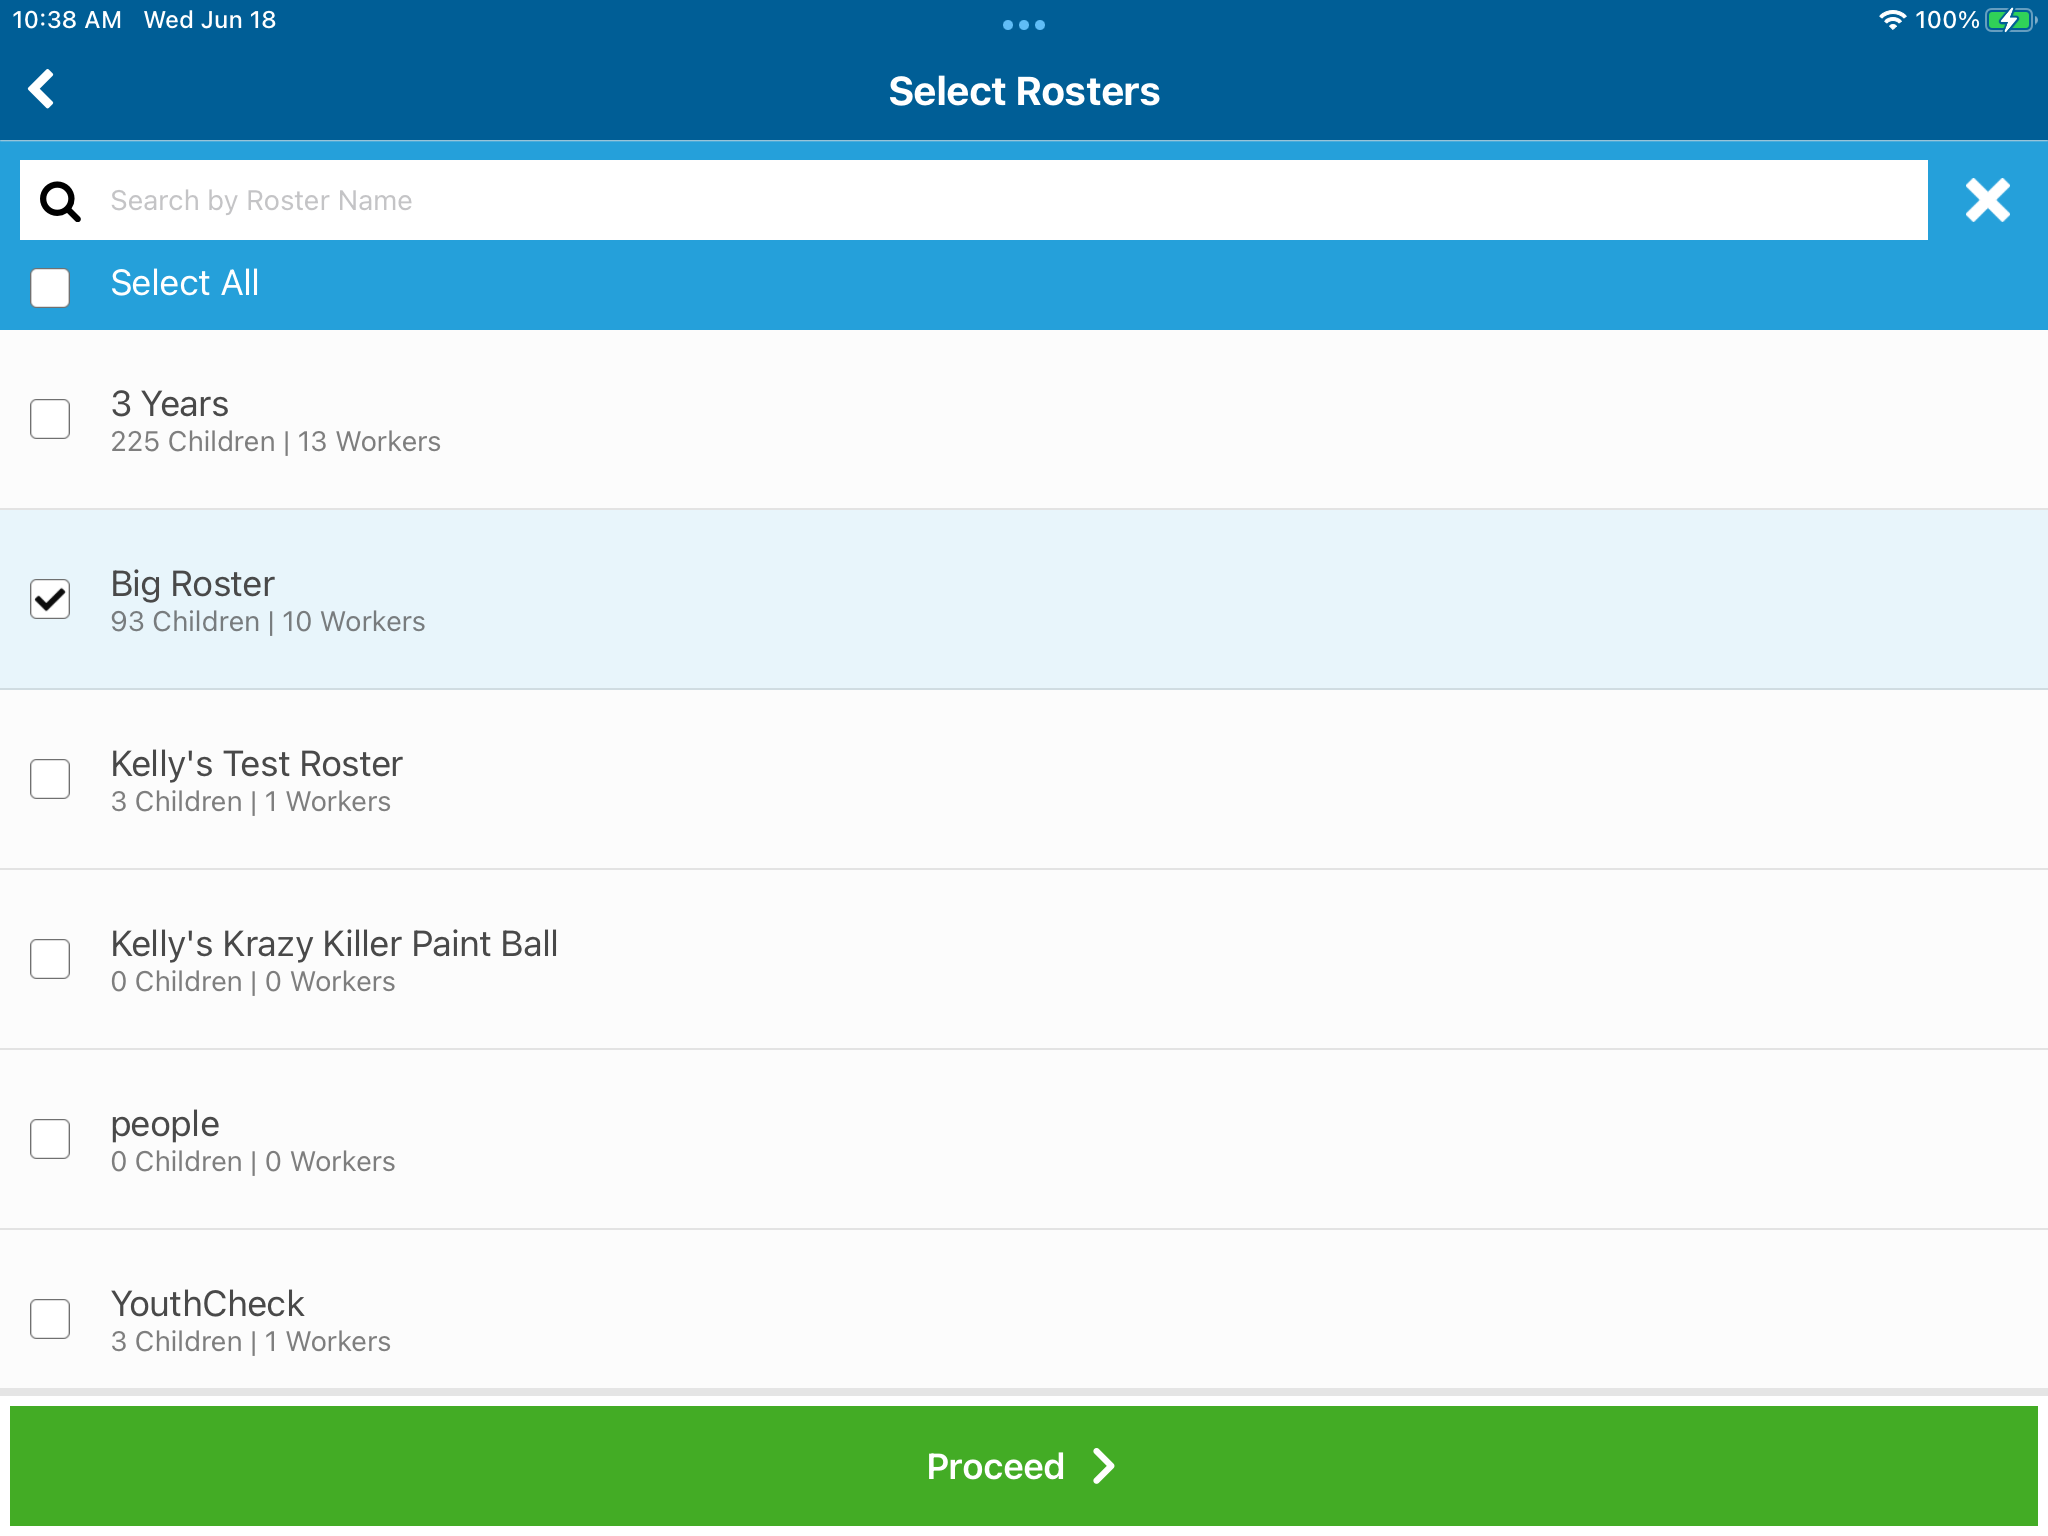
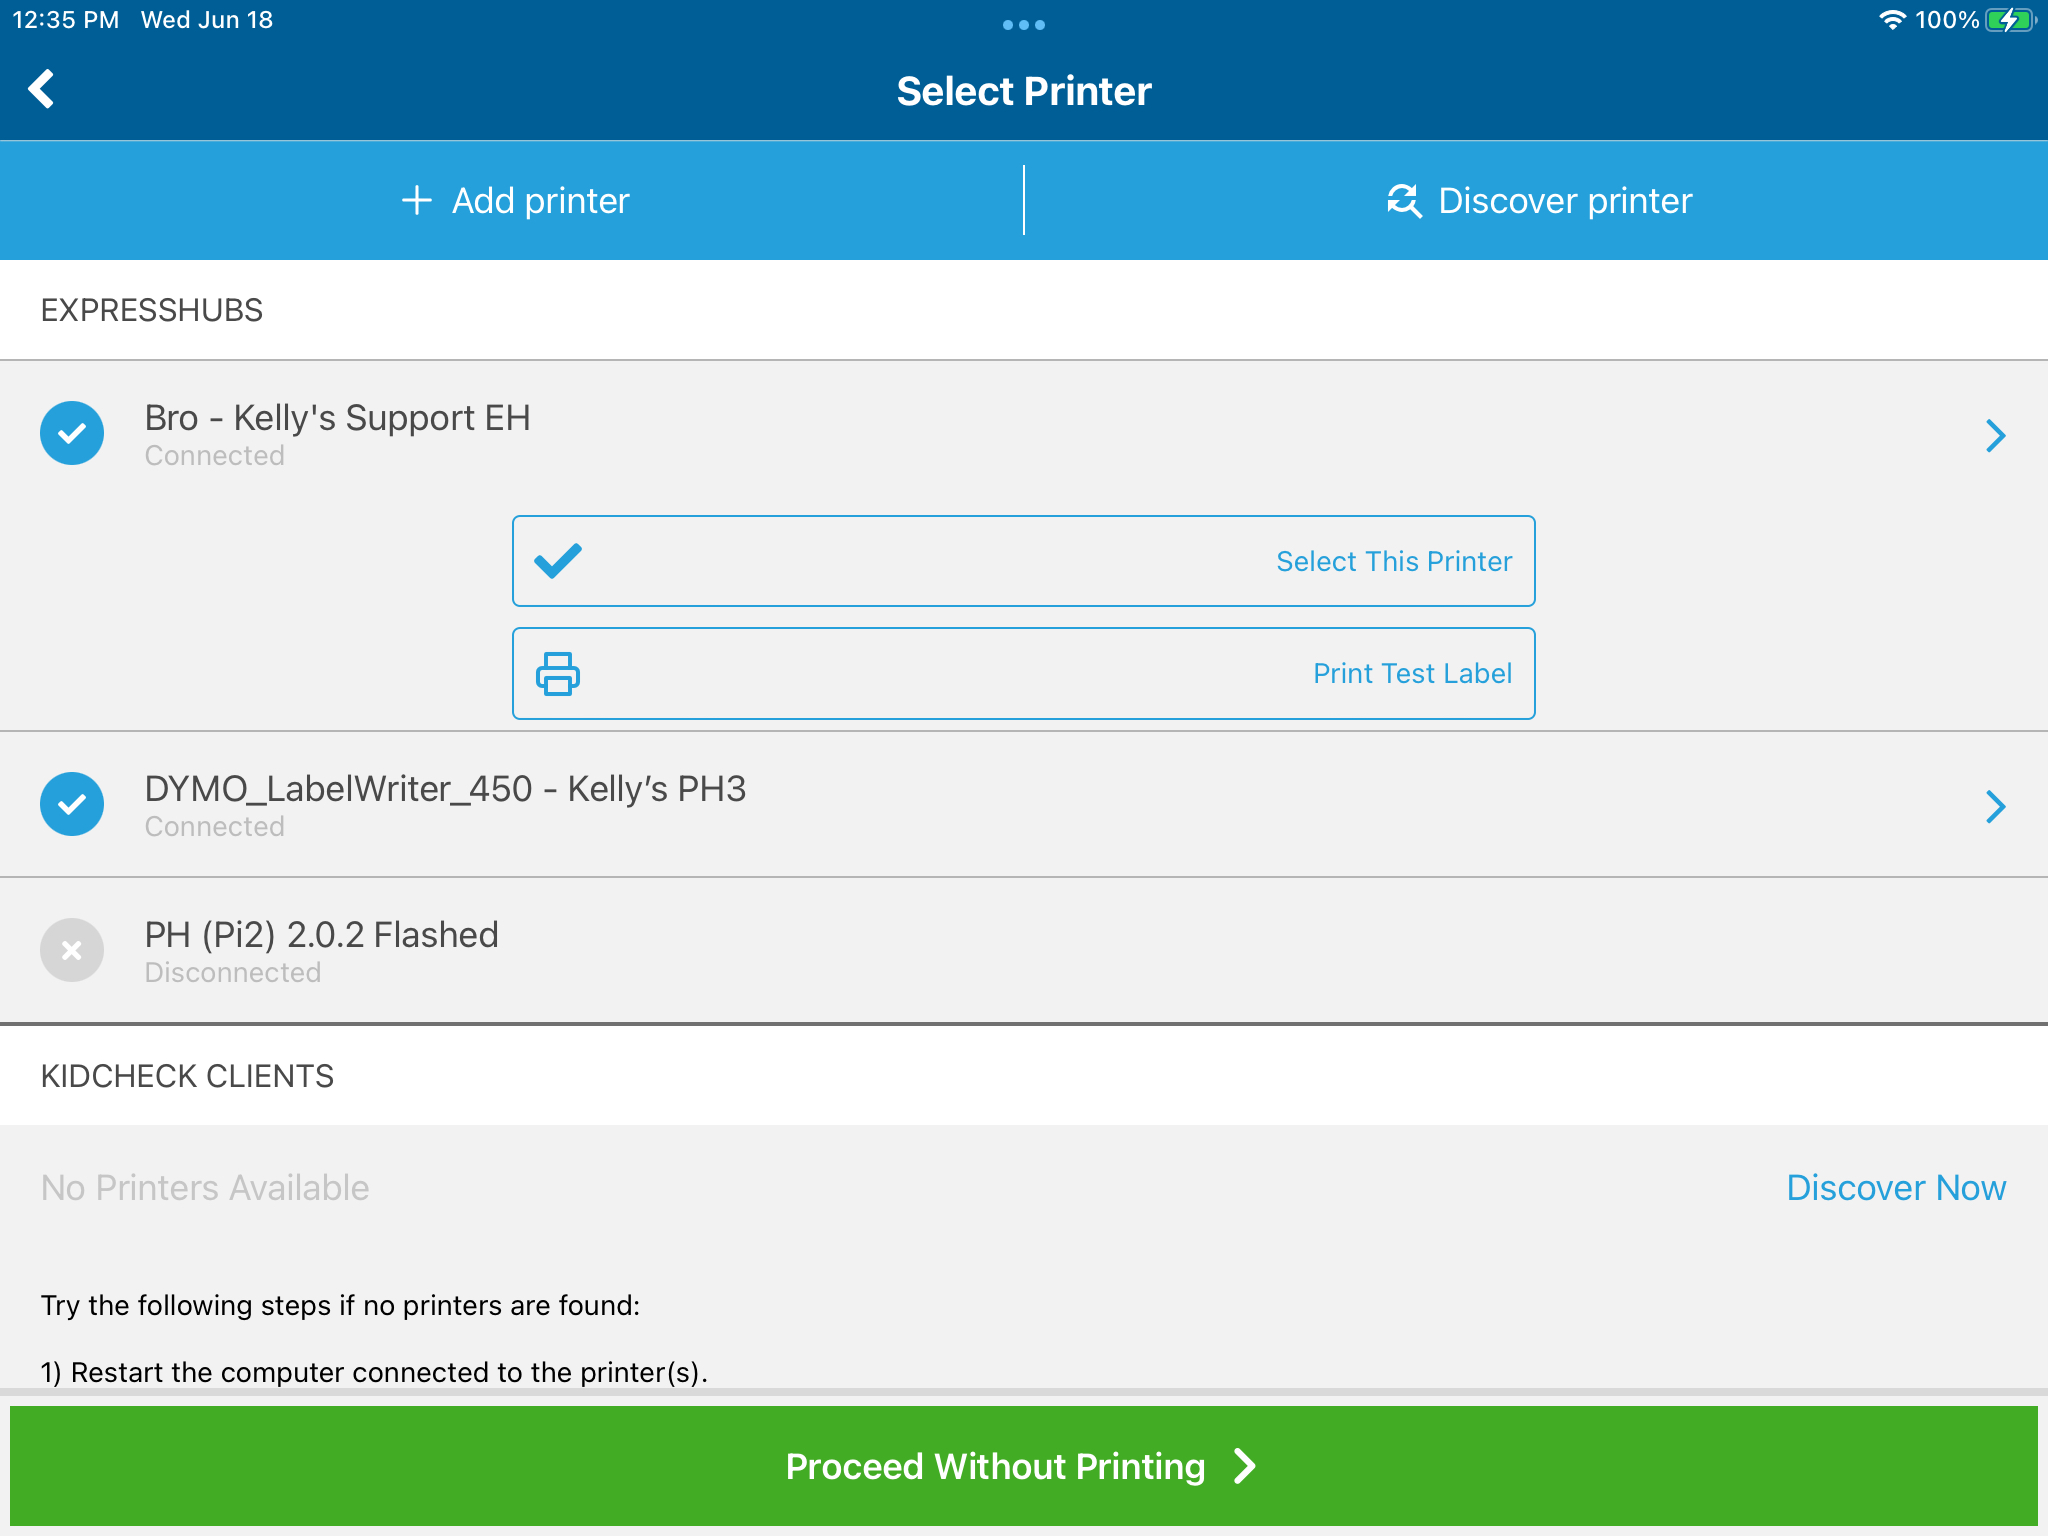
7) Select the Roster you want to run for check-in and the printer you want to use:
8) You will now be able to start processing Roster Check-In through the Admin Console app with the provided license from the KidCheck mobile app: