Pager Support (Auto-Issue)
KidCheck is designed to work with existing pager systems to easily associate pager numbers with the checked-in child and guardian. Using the pager information you input, KidCheck will automatically assign a pager number to the child checked in and print it on the check-in label.
Note: Pager Auto-Issue is available on the Plus and Premier editions of KidCheck.
To set up auto-issue pagers:
- Log into your KidCheck admin account
- Click on the System Settings gear icon in the upper right
- Select System Options > Check-in Options in the left sidebar
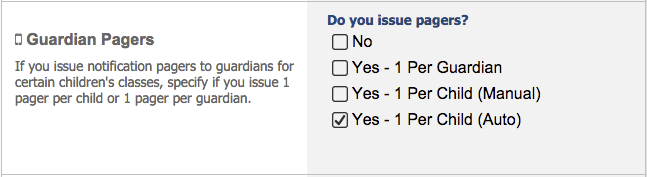
- In the Guardian Pagers area, select Yes – 1 Per Child (Auto)
- Click the Save Changes button
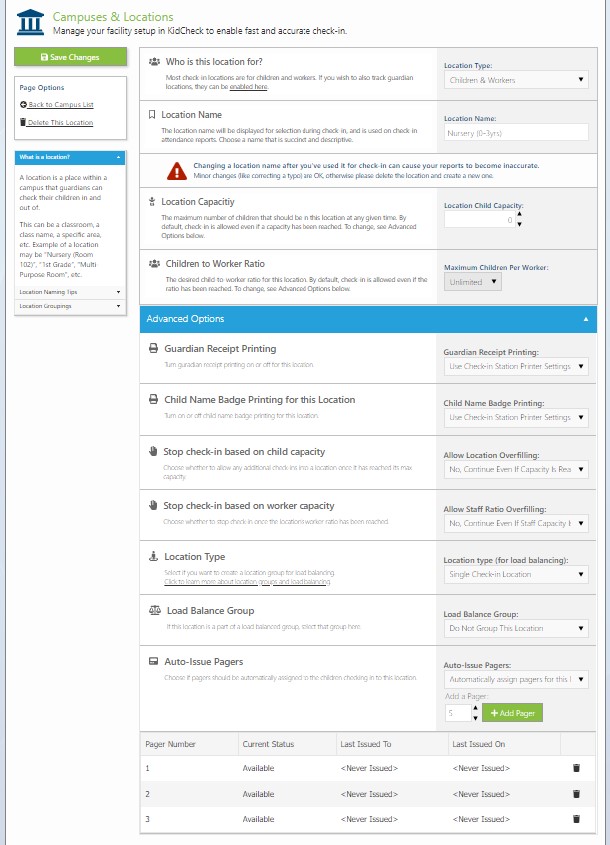
- In the left sidebar, select Campuses & Locations, and then select your campus
- Click on the name of the child location you would like pagers to issue for
- Click the Advance Options drop down in the location settings, and then choose Auto-Issue Pagers>Automatically assign pagers for this location.
- Enter the pager numbers you wish to have available for this location (note: each pager should only be made available in one location, to avoid it being assigned to multiple children)
- Choose Save Changes before exiting the Advance Options of your child location.
When a child checks into a location that has auto-issuing pagers set up, they will automatically have one of the available pagers assigned to them. The pager number assigned to them will be displayed on the child’s name badge, in the Admin Console, and on the Current Check-in Roster report.
Related:
to manually assign pager numbers to children during check-in, please visit the Pager Support (Manual-Issuing) tutorial.