Volunteer Scheduling – KidCheck Mobile App
In this tutorial, you’ll learn to:
Installing the KidCheck Mobile App and Setting up an Account
- Go to the Apple App or Google Play store on your mobile device and search for KidCheck
- Install the KidCheck business mobile app (Do not install the KidCheck Admin Console or KidCheck PrintHub app for the account setup you are doing
- You will come to a Login screen when launching the KidCheck Mobile app, choose Create Account
- Enter your phone # and the organization you are setting the account up for, and choose Next
- If no account is found, continue with account creation, or choose I am not on this list if the results are not your existing account/profile
- Once the New Account info fields have been filled out, check the box I agree to the KidCheck terms of service and click Save
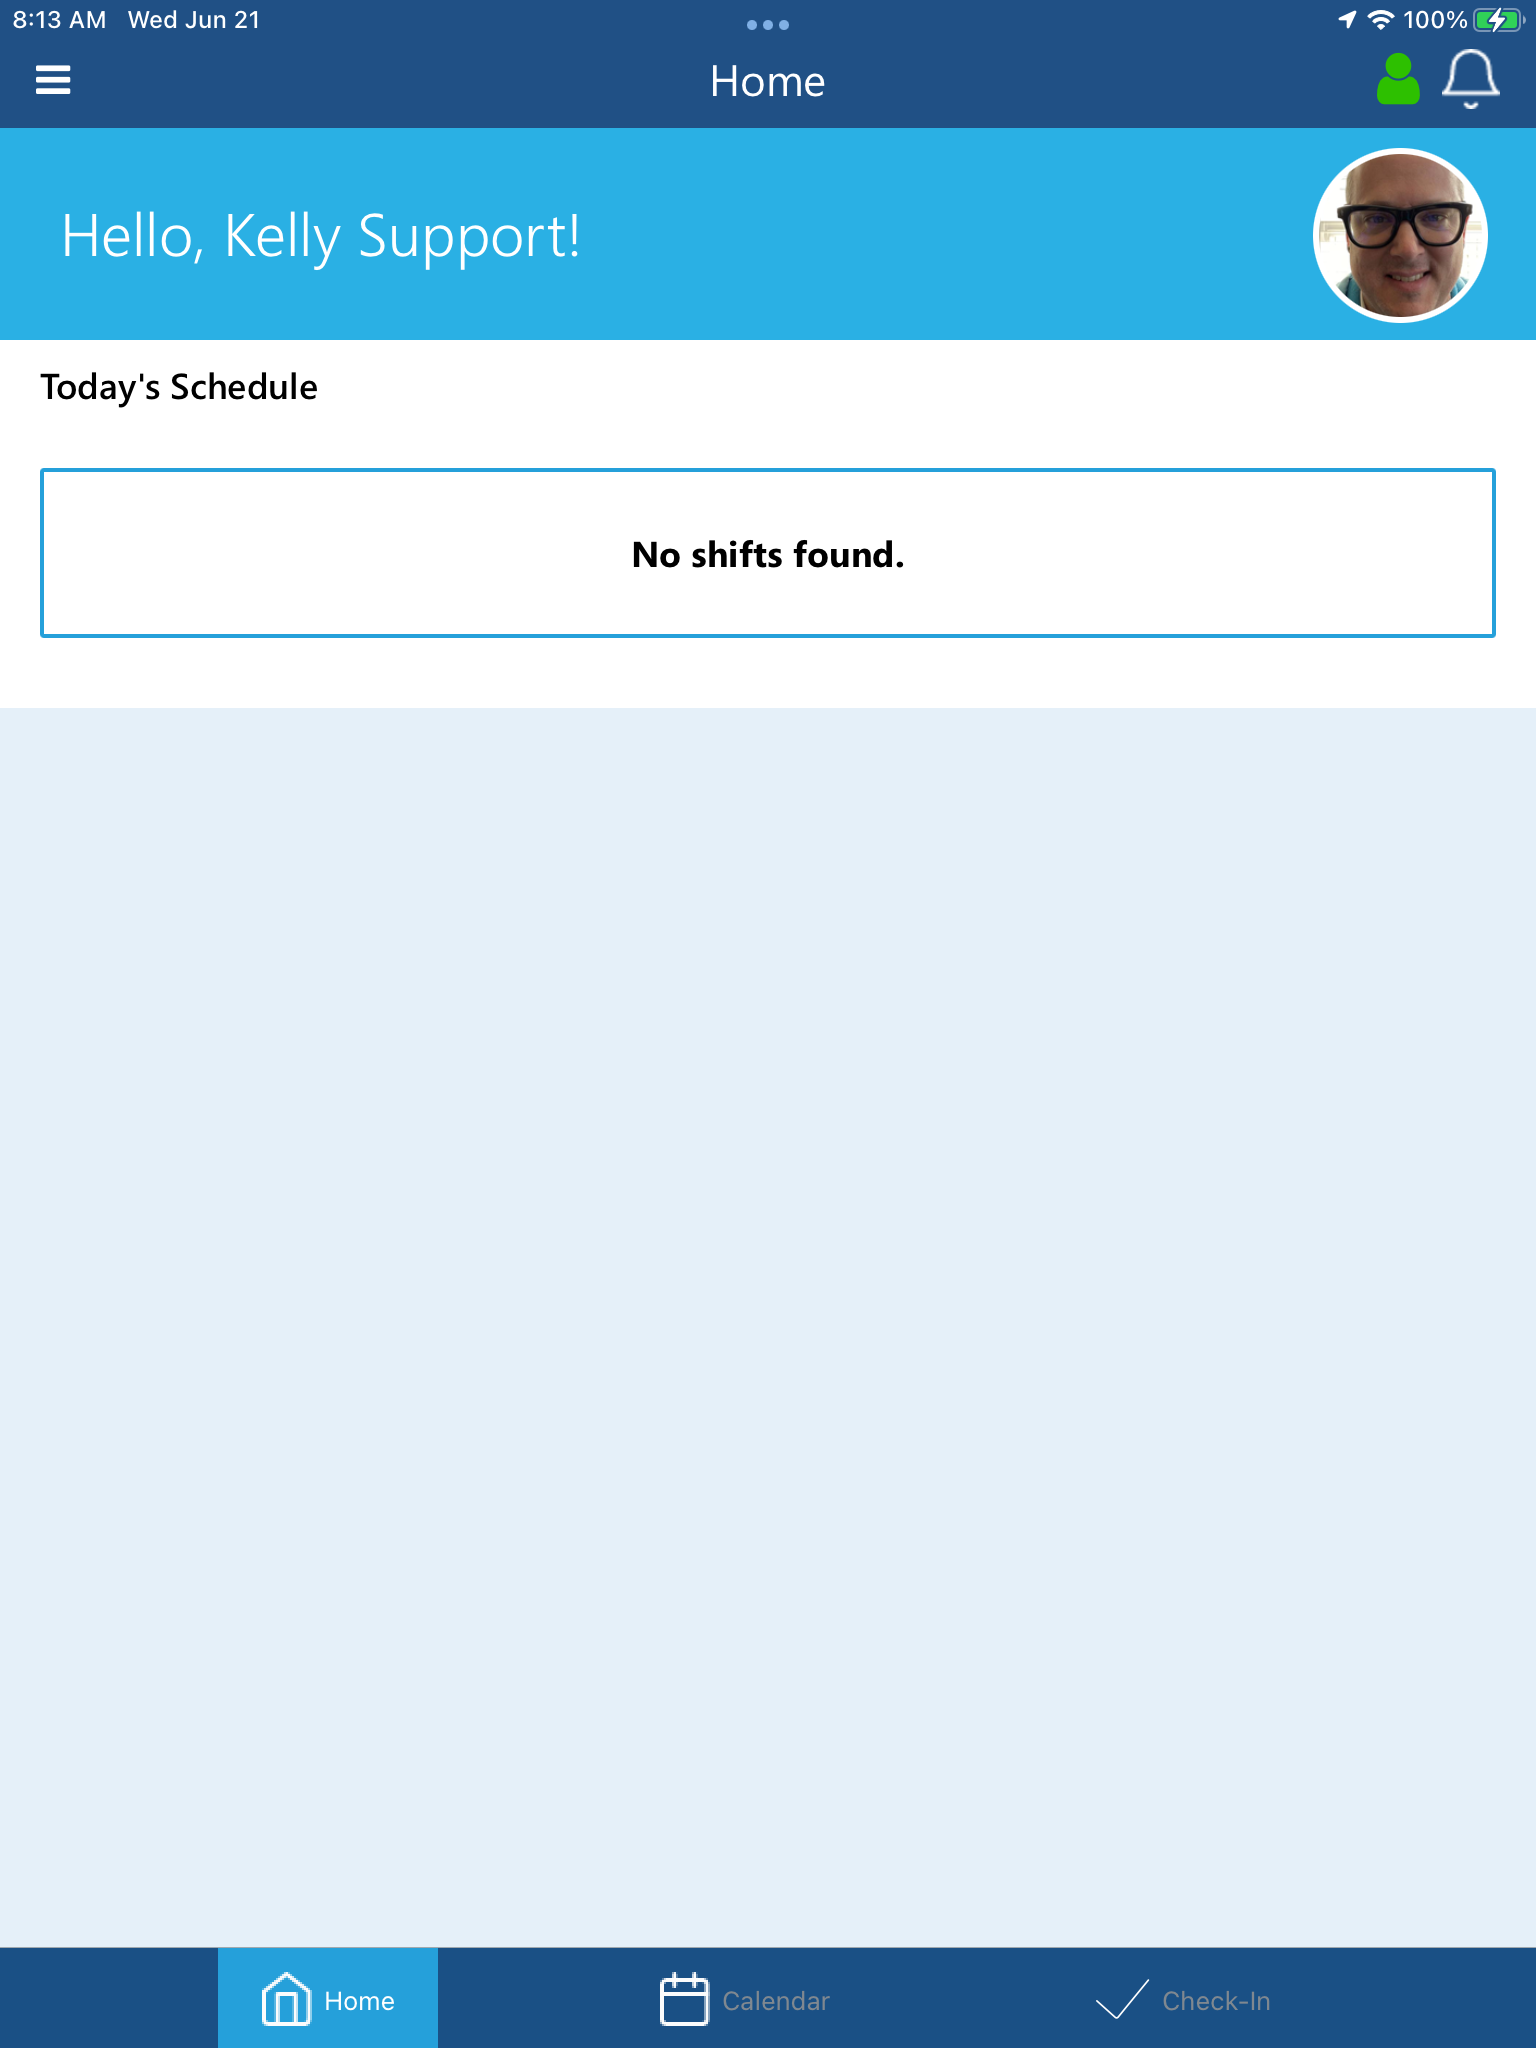
- Once logged in, you will be advanced to the home screen of the KidCheck mobile app (This will be the screen you will function from as a Volunteer in KidCheck)
Edit/Updating Profile
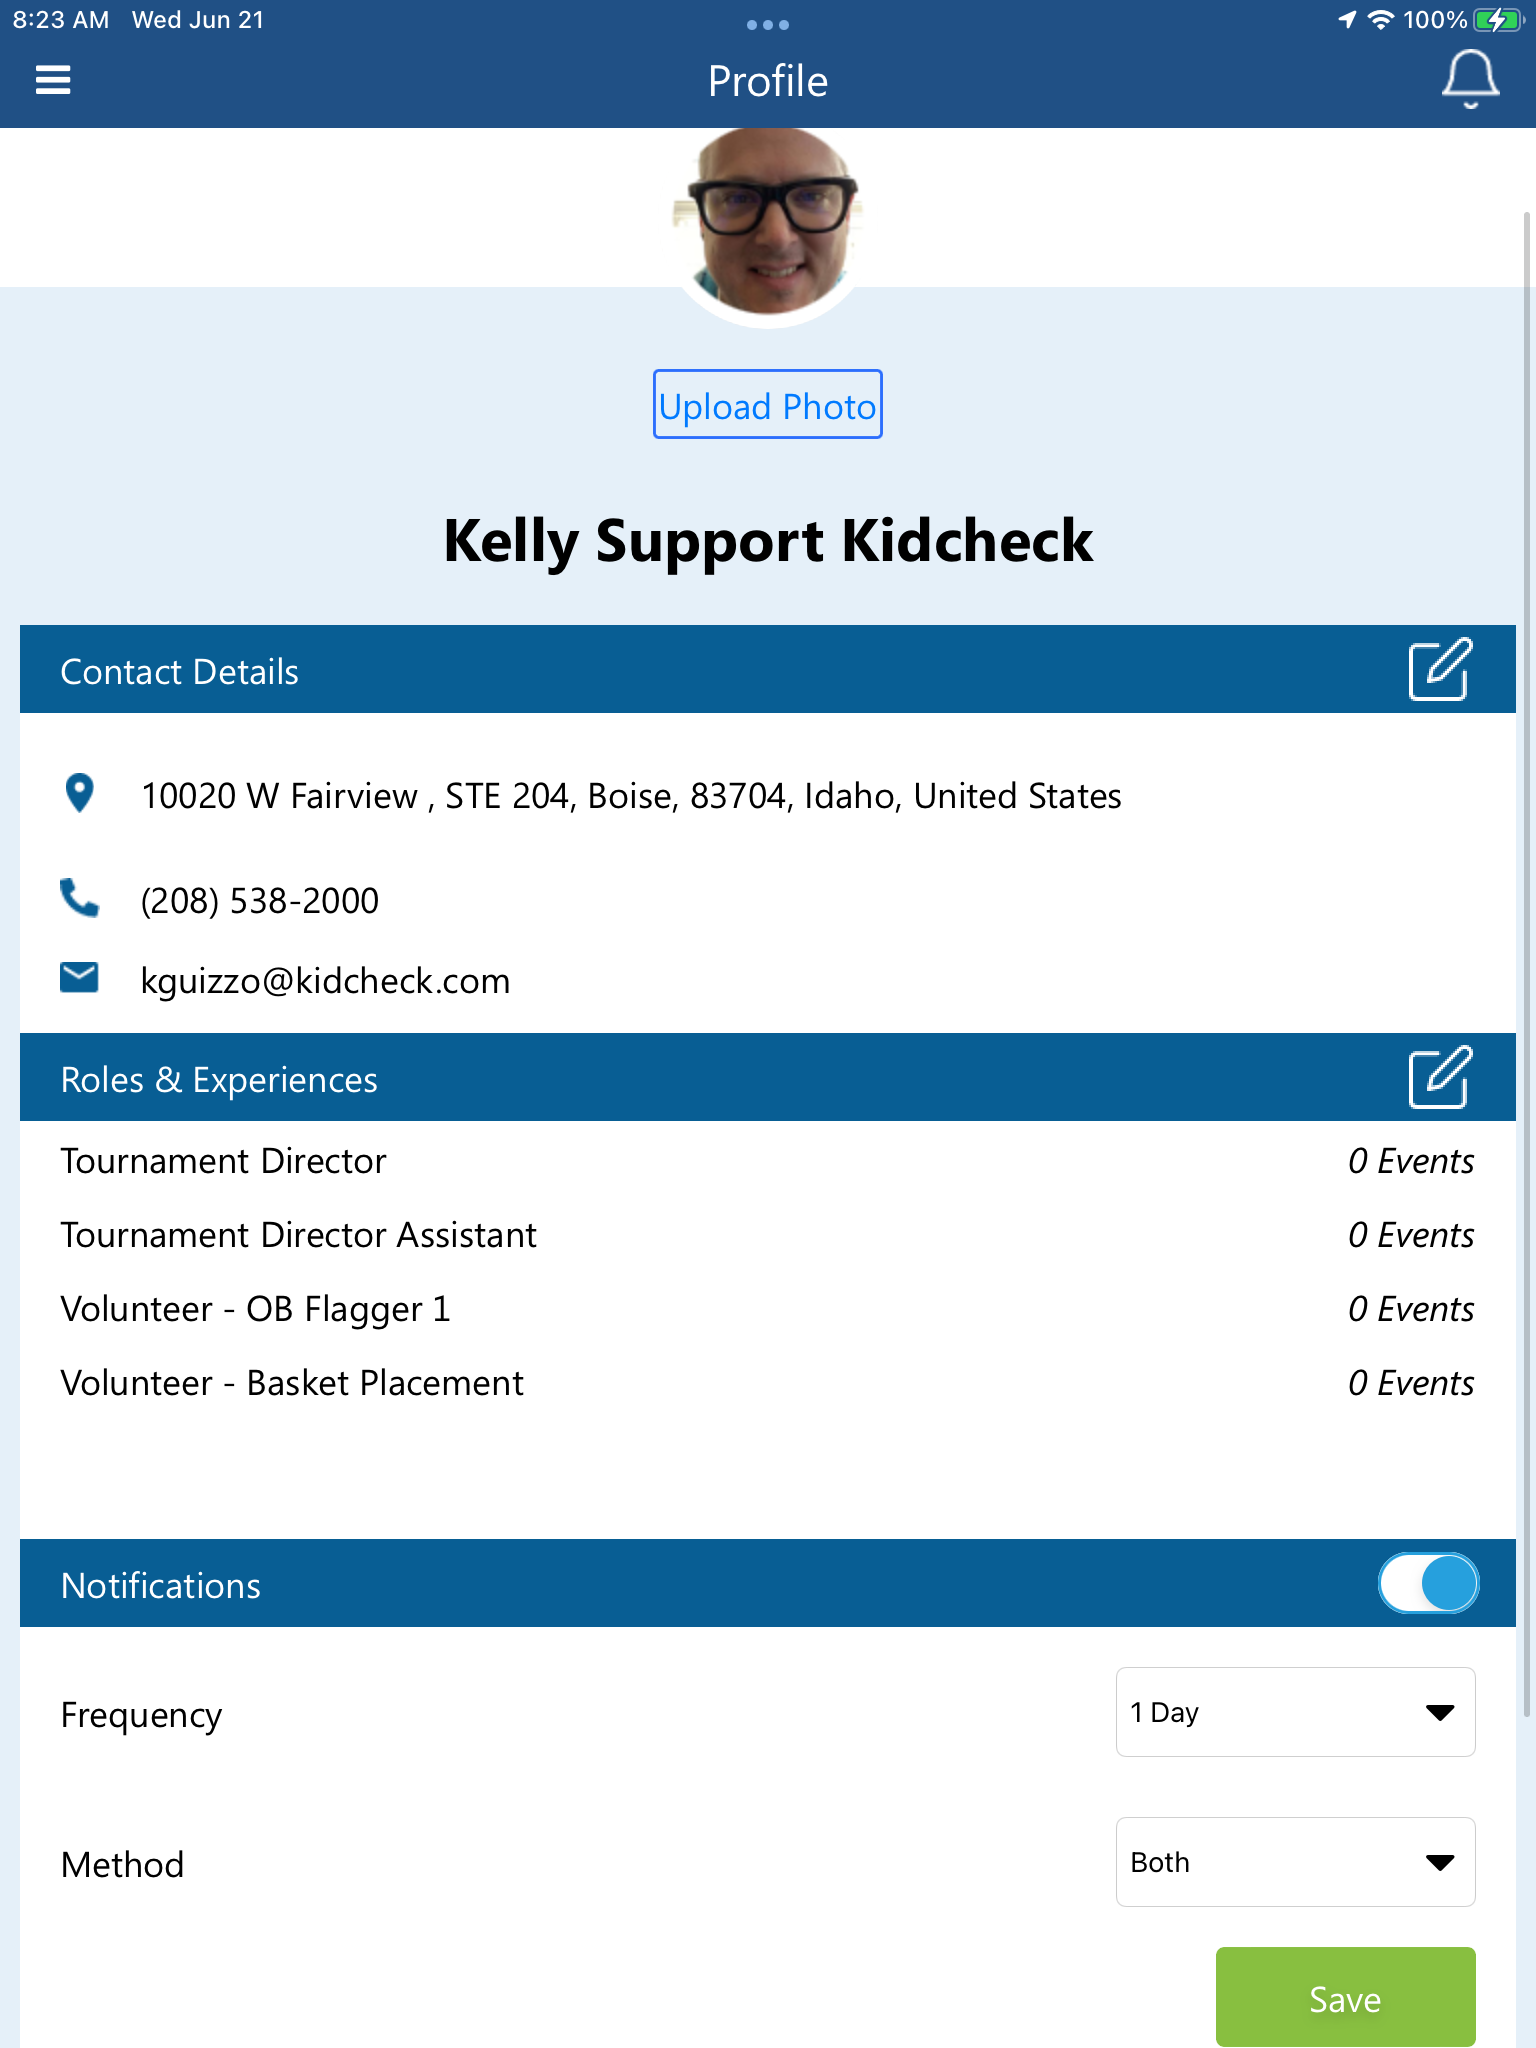
- From the home screen of the KidCheck mobile app, choose the green people icon in the upper right corner, this will advance you to your Profile screen
- From here you can update your profile picture, change personal information, update your volunteer roles, select notification preferences, and upload documents (always save any changes made before exiting the profile screen)
Responding to Request/Notifications
- Log into the KidCheck Mobile app
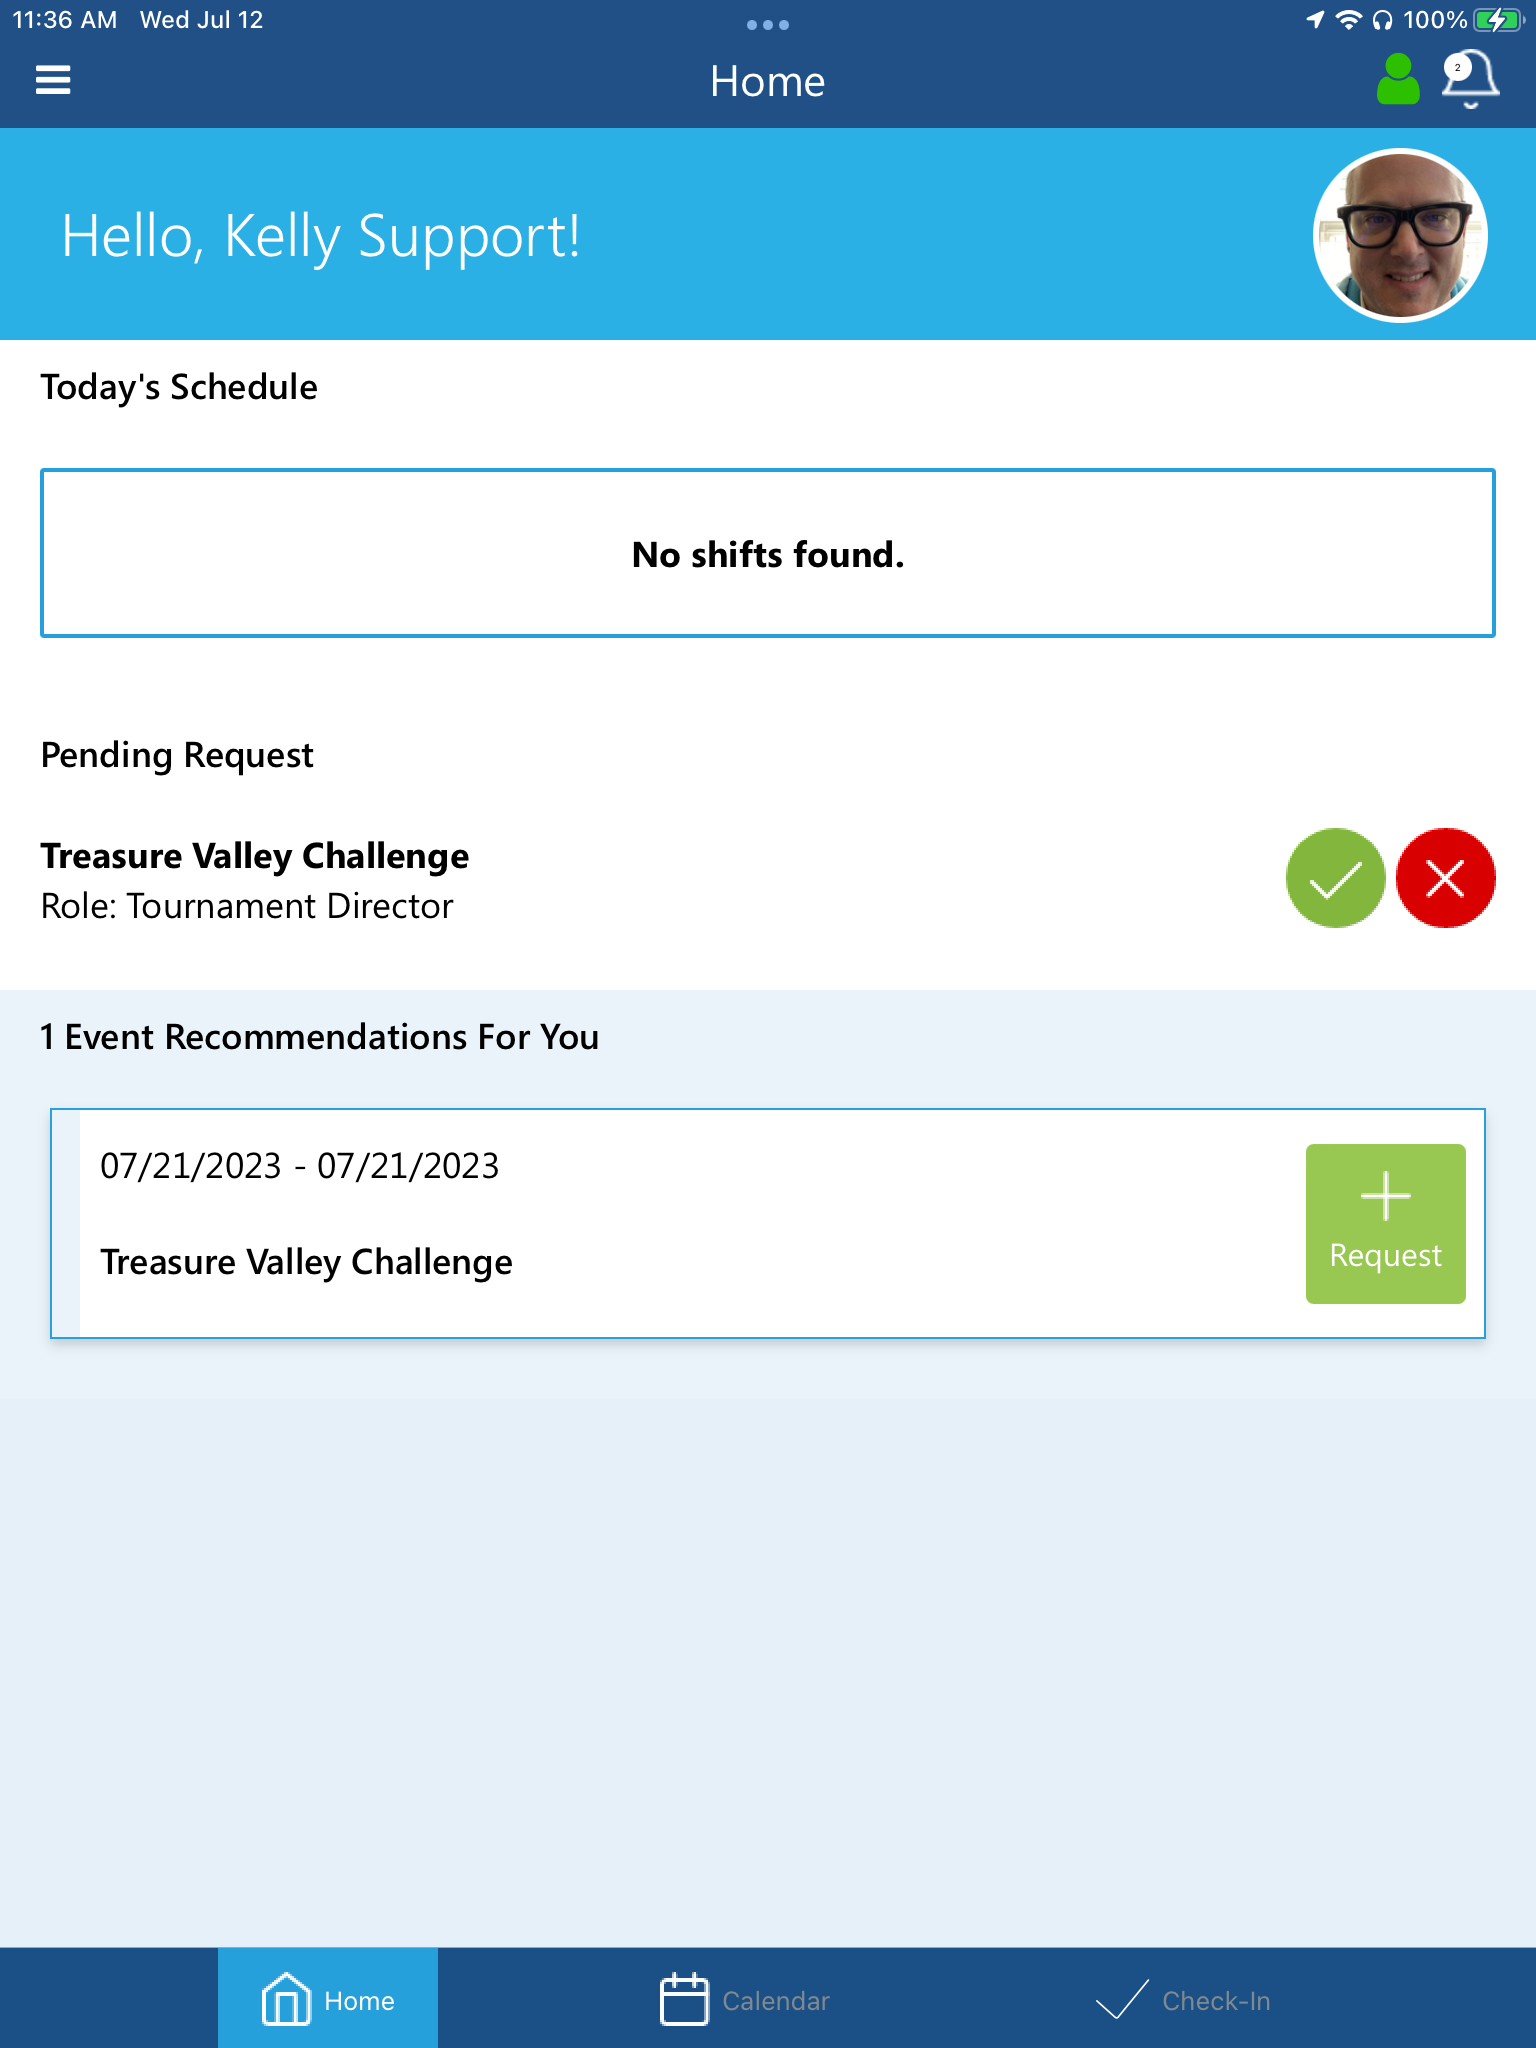
- From the home screen you will see any pending volunteer requests
- You can choose the green check mark or red X to approve or deny any volunteer requests for an event
- You will also have recommended volunteer roles shown on the home screen if your role skillset would fill a need in an event. You can select the green + Request button to let an admin know that you are available for an event
- You also have the bell icon in the upper right corner of your home screen that will display a number of new notifications that can be viewed when upcoming events and scheduled roles are posted
- You additionally have the Calendar icon at the bottom of your screen that can be selected to show your upcoming shifts for your scheduled events
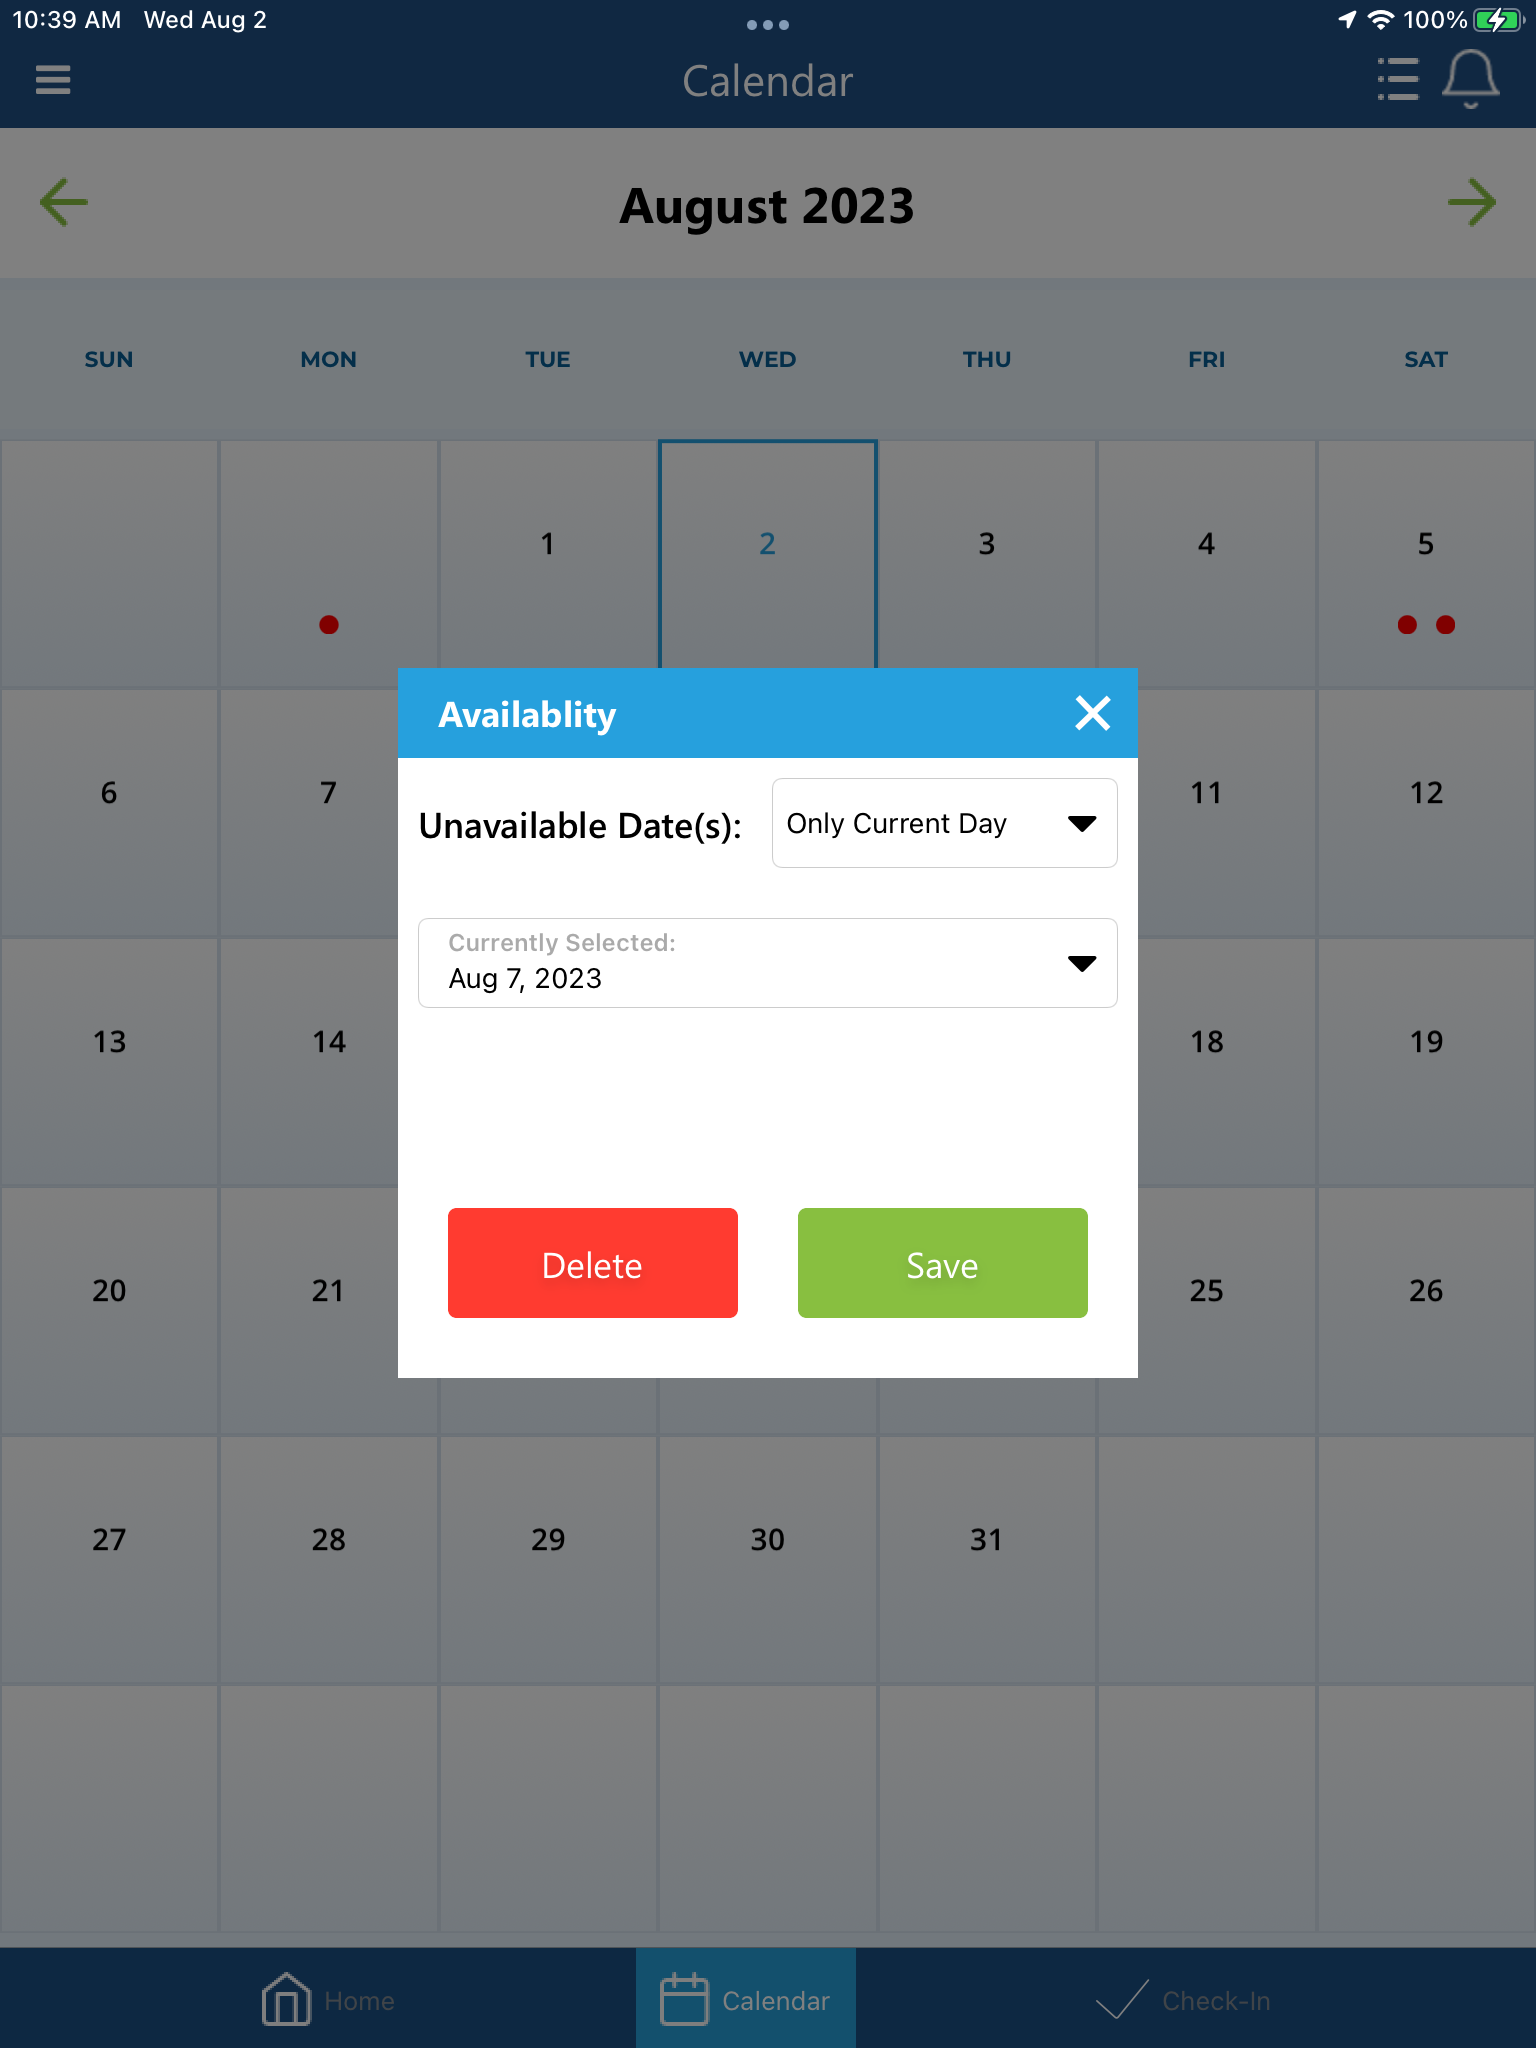
Requesting Days Off
- Log into the KidCheck Mobile app
- From the home screen, choose the Calendar option at the bottom of your screen
- Select the Calendar icon in the upper right corner of your screen to display the Calendar of events for your organization
- Choose the date you would like to schedule off and this will display an Availability settings menu
- Choose the drop-down menus to select one more or days off and to schedule your off days on the organization events calendar
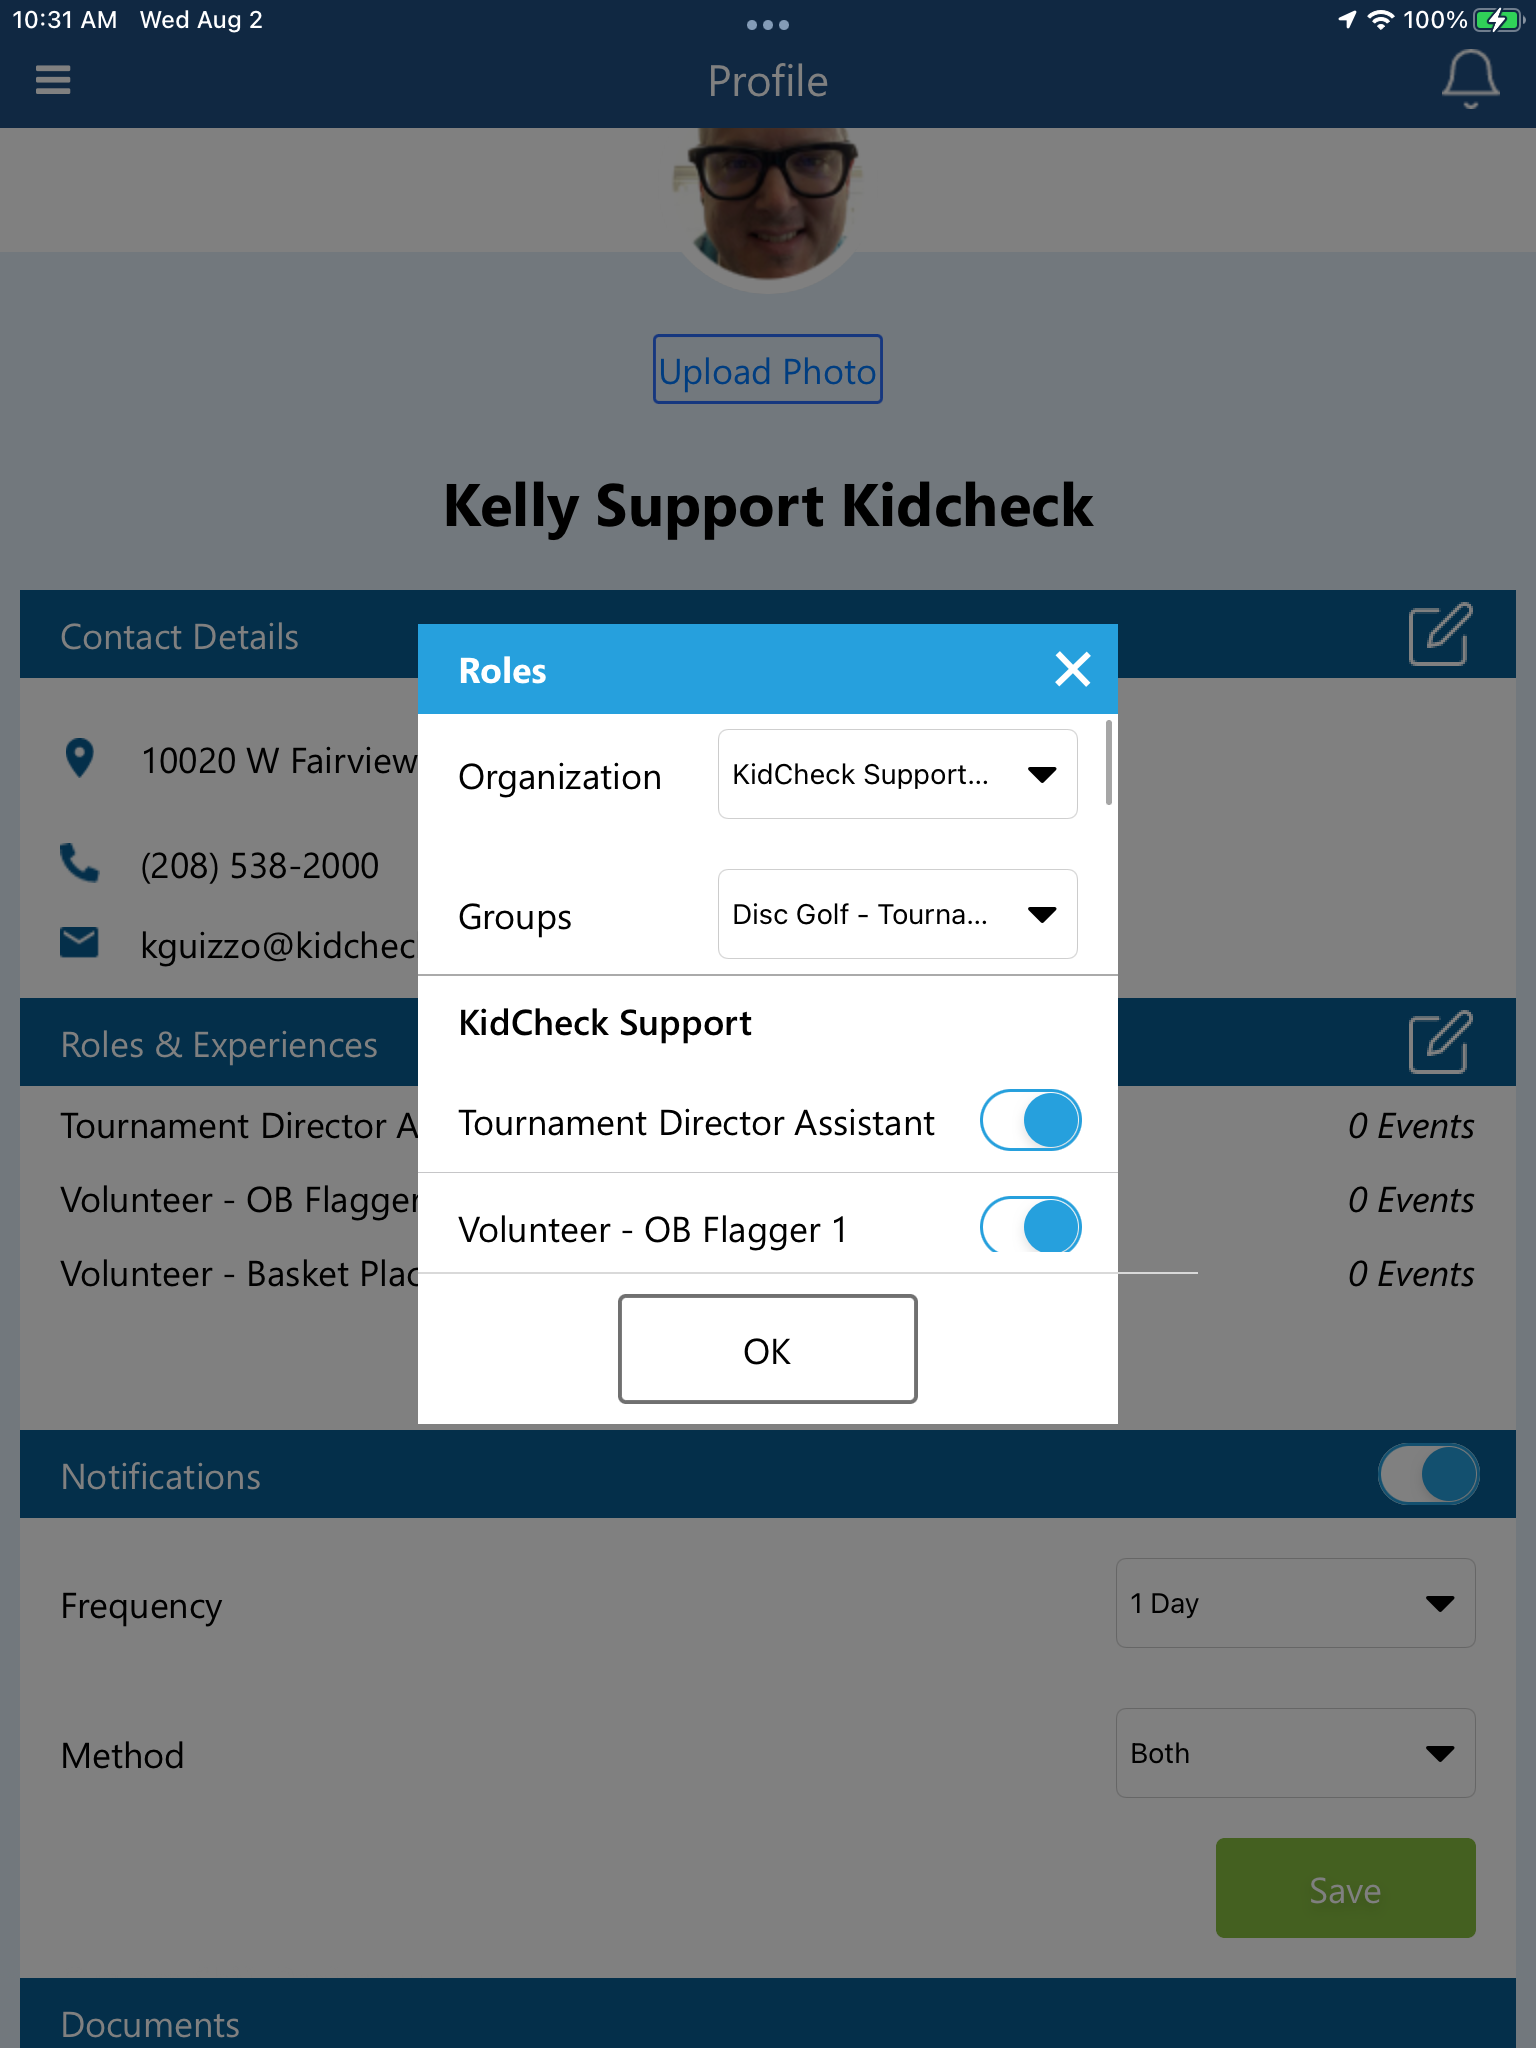
Selecting Roles
- Log into the KidCheck Mobile app
- From the home screen choose the green people icon in the upper right corner
- From the Profile screen, select the pencil icon next to Roles and Experiences, this will display the Organization and Groups drop-down menus for the available roles in your organization
- Choose the drop-down menus to display the roles you are qualified for, and toggle the buttons next to the qualified roles you want to be selected for events and click ok. This will display the roles you are qualified for when admins create events in KidCheck scheduling